How to Seal Acrylic Paint on Wood – Easy Paint Protection Tips
Disclosure: There are some affiliate links below and I may receive commissions for purchases made through links in this post, at now additional cost for you.
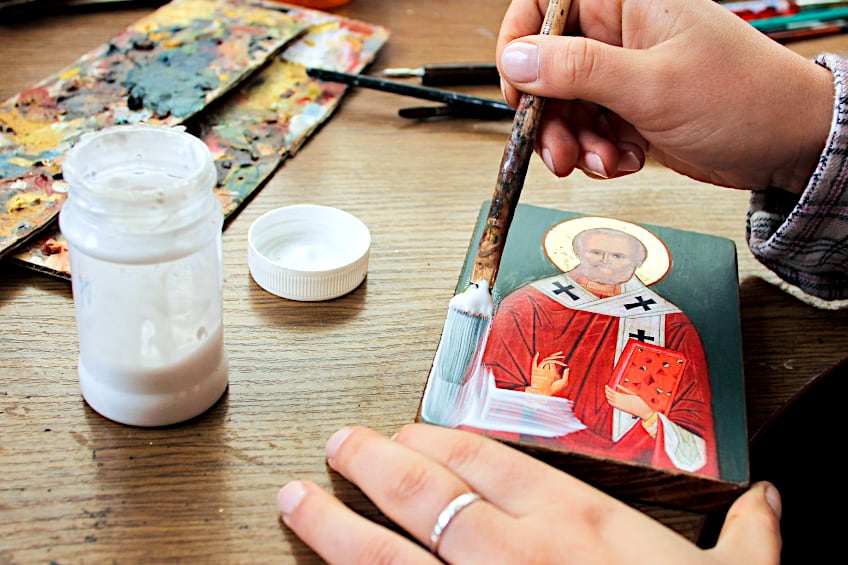
Highly versatile and quick-drying, acrylic paints have become a popular choice for expressing your creativity beyond the canvas. Wood is a great painting surface for acrylic paints, however, ensuring your designs last requires an acrylic paint sealer and a little know-how. Below, we have created this guide on how to seal acrylic paint on wood to help you get the best out of your designs, and to make sure that they last for many years to come!
Why Is Sealing Acrylic Paint on Wood Important?
Sealing painted wood is important to protect the look and longevity of your paint as well as your wood. Because acrylic paints are water-based and do not contain solvents, the pigments are very vulnerable once the paint has dried.
Acrylic paint can be impacted not only by everyday wear and tear, but also by water, weather, chemicals, and the sun’s ultraviolet rays.
This means that leaving your paint unprotected will result in it peeling or getting chipped and scratched. Aside from protecting your paint, a sealant can also be used to alter the finish of your piece changing it from matte to gloss or even satin.

Choosing and Preparing Your Wood
The type of wood you choose can not only have an impact on the final look of your paint but also its longevity and the effectiveness of the sealant as well. The two important factors to consider when selecting a wood type is whether it is a hardwood or softwood and if it has been sealed or not.
Hardwoods vs. Softwoods
Hardwoods are more popular than softwoods for acrylic painting as they are less porous. This makes them more resistant to warping from the moisture and provides a smoother painting surface for your paints. Some examples of hardwoods include ebony, birch, ironwood, maple, rosewood, mahogany, teak, and ash.
Plywood, particularly oak plywood, is a very difficult surface to paint with acrylic paints because of its porosity and should be avoided if possible.
Sealed vs. Unsealed Wood
Sealed wood is preferred over unsealed wood for painting. Unsealed wood, particularly softwood, is very absorbent and will result in you using more paint and cause your paint to dry even faster. Wood also contains a lot of impurities that can leach into your paints causing discoloration and impacting their longevity. This is particularly true for wood that has been repurposed or previously stained.
Unsealed wood will need to be sealed before painting. This includes both the painting surface and underside of your wood. Sealing your wood surface is different from sealing your paint but both serve to protect your wood and paints.
You can use a dedicated wood sealant or varnish to seal your wood or create your own using Polyvinyl acetate (PVA) glue that has been diluted with twice its volume of water. If you want the grain to show through, be sure to opt for a clear sealant for wood over an opaque one.
To seal your wood and create the best painting surface for your acrylic paints, simply sand your wood with a fine grit sandpaper and then wipe it down with a damp cloth to remove the dust. After the wood has dried completely, apply at least two thin coats of sealant, allowing each layer to dry before you begin to paint. If your wood has deep pores or crevices, you can use a wood filler to fill these before sanding and create an even surface.
Priming Your Wood
The final step in preparing your wood is priming it. Primer is applied onto dry and sealed wood and provides your paints with a surface that makes your paint adhere better and last longer. A primer is especially important for hardwoods as it can be harder for acrylic paints to stick to these surfaces.
Sealing your wood and using a primer before painting creates a barrier between the wood and the water in the paints, preventing the wood from warping, rotting, and leaching impurities into the paint causing discoloration.
A primer also provides your paints with a smooth painting surface and even improves the vibrancy and evenness of your paint colors by providing a neutral backdrop, especially on darker woods. You can use a dedicated primer, a layer of acrylic paint, or gesso to prime your wood. Be sure to use a water-based primer when working with acrylic paints as they may have trouble adhering to oil-based primers.
Different Acrylic Paint Sealers
There are multitudes of acrylic paint sealers available, each with their own strengths and weaknesses. This is why choosing an acrylic paint sealer that will work for your piece and needs is important. You can choose between many different types of sealers such as glaze, varnish, wax, spray, and many more.
When sealing painted wood, it is important to consider the location, usage, wear, and movement of your piece before deciding on an acrylic paint sealer.
Below, we have included the most popular options for sealing painted wood.
| Sealant | Durability | Finish | Location |
| Wax-Based | Limited | Matte | Indoor use only |
| Polycrylic | Moderate | Gloss, satin, matte | Indoor use only |
| Polyurethane | High | Gloss, satin, semi-gloss | Indoor and limited outdoor |
| Polymer Varnish | High | Matte, gloss | Indoor and outdoor |
| Resin Varnish | High | High-gloss | Indoor and outdoor |
| Mod Podge | Limited | Matte, gloss | Indoor use only |
Waxed-Based Acrylic Paint Sealant
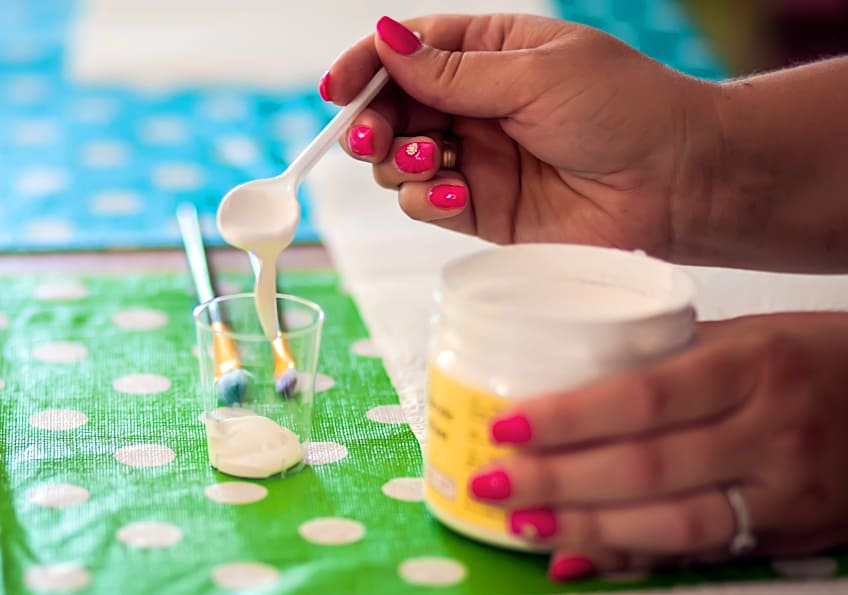
Waxed-based sealants are applied using a cloth and offer a quick, easy, and inexpensive method for sealing acrylic paint on wood. To seal acrylic paint, simply take a small amount of wax on a clean microfiber cloth and distribute it in a thin layer over your wood. Let the wax sit for 10 minutes and then buff it in to create the seal.
Wax-based sealants have limited durability, especially outdoors, so should only be used on painted wood that will not be exposed to the elements or handled often.
Polycrylic Acrylic Paint Sealant
Polycrylic sealer is one of the most popular choices for sealing painted wood. This sealant is quick-drying and comes in a variety of finishes. Polycrylic sealers offer more protection than wax-based sealants, allowing your paint to withstand more handling and exposure.
This sealant is still only for interior surfaces, however, as it does not offer much protection from the weather outdoors.
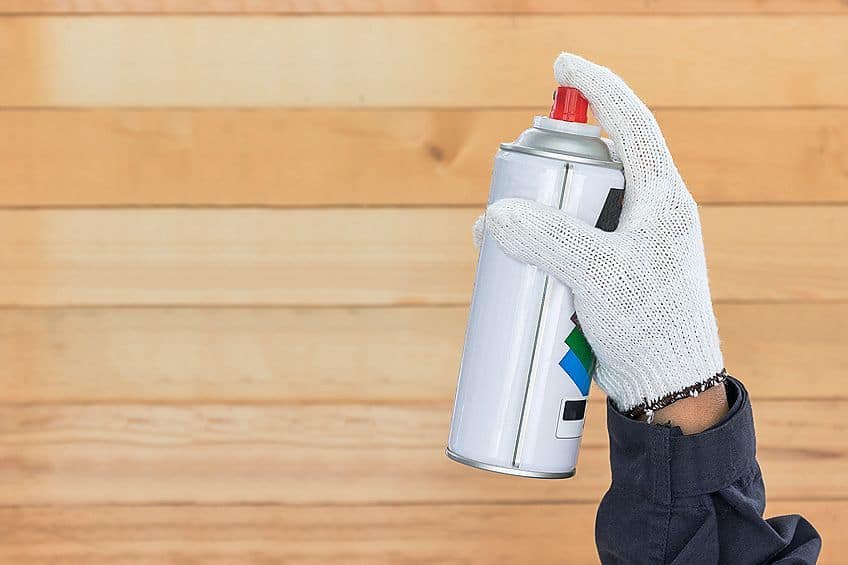
Polycrylic sealant has a very thin consistency, so it is a great waterproof acrylic sealer for crafts rather than larger projects as it can be difficult to get an even coat over a large area before it starts to dry. Choose a polycrylic acrylic sealant spray instead of liquid for an easier application.
Polyurethane-Acrylic Paint Sealer
Polyurethane sealer is a versatile option that comes in a variety of finishes. Polyurethane can be used outdoors in certain conditions, however, continuous exposure to high temperatures and water will degrade this sealant over time.
Be sure to use water-based polyurethane, as oil-based varieties will yellow over time and not adhere to your acrylic paints.
As with polycrylic, an acrylic paint sealer spray might make it easier to achieve a more even application.
Acrylic Polymer Varnish
Acrylic polymer varnish is a highly durable option for protecting your painted wood. Polymer varnish is resistant to impacts, UV light, high temperatures, mold, and water, making it great for outdoor use. This varnish primarily produces a matte finish but is also available in a gloss finish. Acrylic polymer varnish is easy to use without very strong fumes making it a good waterproof acrylic sealer for crafts as well as larger projects.
Acrylic Resin Varnish
Acrylic resin varnish is a sealant made specifically to protect painted surfaces and once cured, can withstand impacts, UV light, high temperatures, as well as water. This makes it perfect for protecting outdoor pieces.
This varnish does require some preparation and can have strong fumes but gives your piece a high-gloss finish and can be applied in various levels of thickness.
Acrylic resin varnish is better suited to larger projects as the fumes can make it difficult to work on small crafts.
Mod Podge
Mod Podge is a flexible glue that can also be used as a sealant to protect your painted wood projects. Mod Podge comes in both gloss and matte finishes and is an inexpensive option for indoor pieces. This sealant can take longer to dry compared to other sealants and has limited durability but is widely available.
Be sure to test or check the reviews for your Mod Podge before using it on an important project as its performance can vary greatly across brands and prices.
Irrespective of which option you choose, it is important to pick a clear sealant for wood that is water-based and compatible with acrylic paints to allow your colors to shine through and not bleed or run.
How to Seal Acrylic Paint on Wood
Now that you know about the different types of woods and sealants that can be used with acrylic paints, we will cover the steps required to paint and seal your acrylic paintings on wood so that they last. There are a few tools and materials that you will need, and these include:
- Sandpaper (140, 180, and 220 grit)
- Microfiber cloths
- Wood primer
- Acrylic sealant spray, liquid, or wax
- Acrylic paints
- Paint brushes, sponges, or rollers
- Water for rinsing paintbrushes
Step One: Prepare Your Wood and Work Area
Before you begin painting, lay down a tarp or newspaper to protect your work area from any stray paint or sealant, and open a window to improve ventilation. Be sure to protect your clothing as well and wear gloves when handling the paints or sealants.
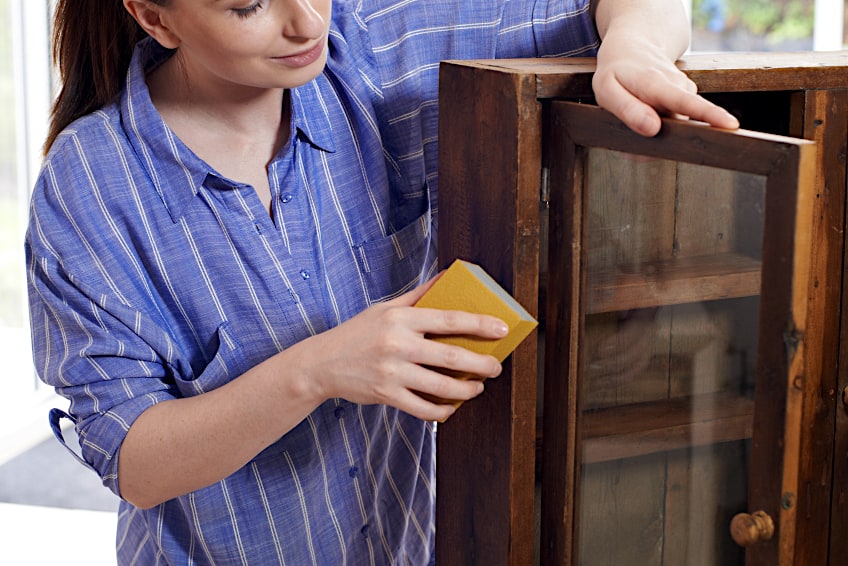
To prepare your wood, you will need to sand it until it has a smooth and even surface. Start with a medium-grit sandpaper and move in line with the wood’s grain. Follow this with a fine-grit sandpaper to ensure the smoothest surface for your paints.
If you are working with sealed wood or wish to keep the grain visible under the paint, then only sand lightly with medium-grit sandpaper. You can also skip this step entirely if you want to achieve a textured look. If there are any cracks or holes you wish to conceal in your wood, you can use wood filler to fill the crevice and then sand it down once it has dried to create a smooth level surface.
Step Two: Clean Your Wood
Once you have finished sanding your wood, you will need to wipe it down with a damp microfiber cloth. This will remove any dust and debris that will prevent your paints and sealants from properly adhering to your wood surface. Allow the surface to dry fully before moving onto the next step. You will have to take extra care to remove dirt from the wood surface if you have not sanded it and can easily be trapped in the crevices of the rough surface.
Avoid using too much water as the wood will take longer to dry.
Step Three: Apply a Wood Sealant (Optional)
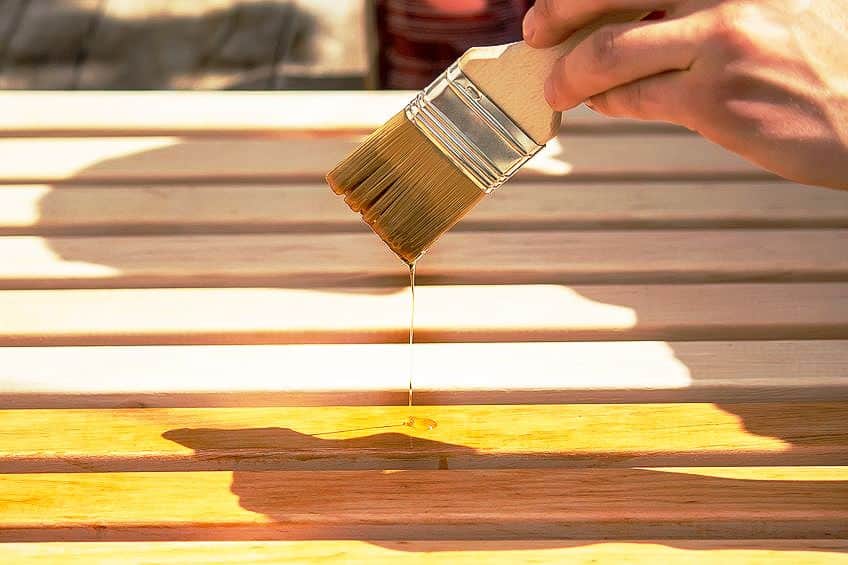
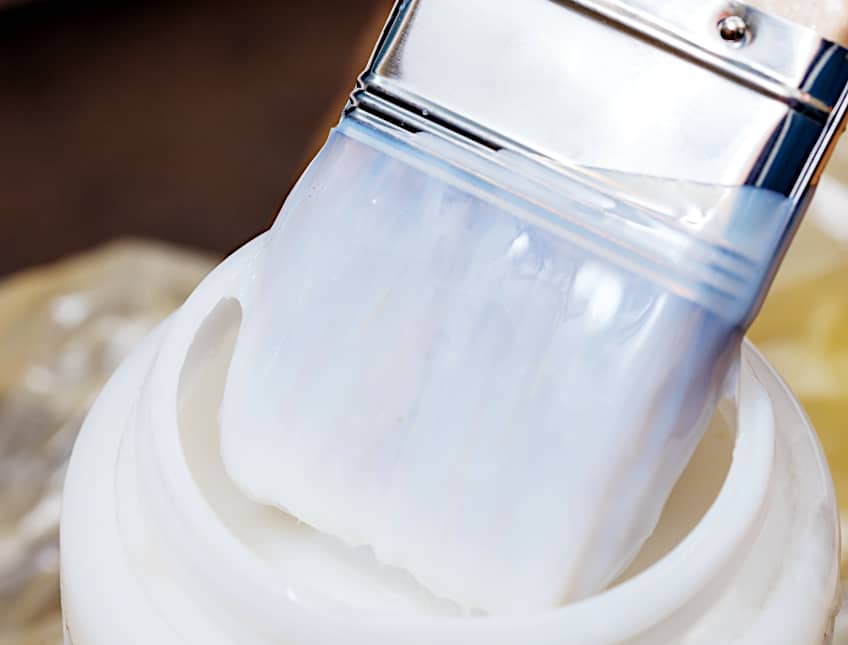
If you are working with unsealed wood, you will need to seal it before painting. Apply two thin coats of your chosen sealant to the area you wish to paint, letting it dry completely between each layer. You may find it easier to use a sponge for any curved edges or grooves and a flat paintbrush for any flat surfaces when applying the sealant.

Once your sealant has dried completely, lightly sand it with the fine-grit sandpaper and wipe it down again with a damp cloth.
Step Four: Prime Your Wood
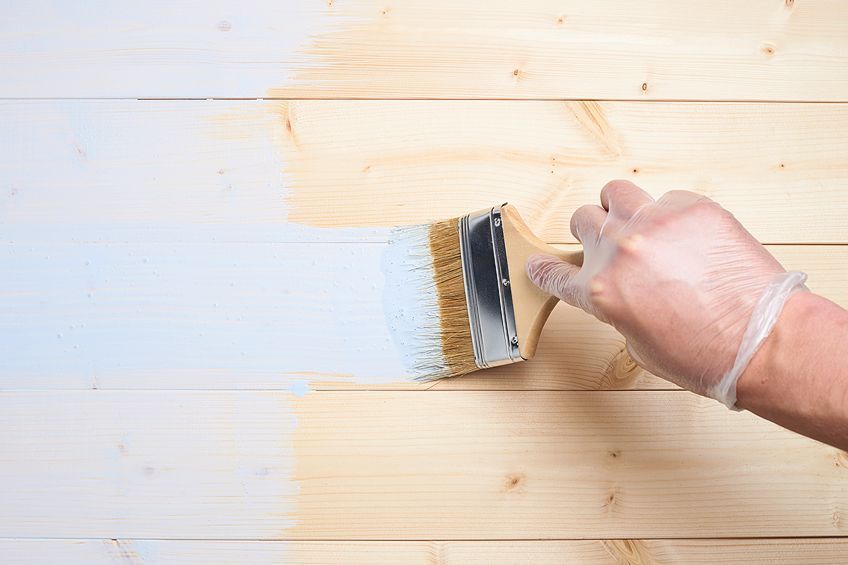
Once your wood and sealant has dried completely, you will need to apply a layer of primer. As we mentioned earlier, a coat of primer improves the longevity and appearance of your acrylic paints by improving the painting surface of your wood. Apply one or two thin coats of primer, making sure to let each layer dry fully. You can use a roller brush or flat paint brush to apply a liquid primer or use a spray-on primer if you prefer.
The manufacturer’s instructions will give you an idea of the drying time needed for your primer, however, generally letting the wood dry overnight produces the best results.
Acrylic gesso is one of the best all-purpose primers for acrylic paint, and priming wood is no exception. You can opt for a white gesso to give your paints more vibrant and even color or if you want to do a lime-wash effect, you can show off the wood grain underneath by opting for a clear gesso.

Once the primer dries, now is also a good time to trace or secure any stencils onto your wood and tape off any areas that you do not want to get paint on. Using painters tape or masking tape ensures that no primer gets pulled off the wood when you peel off the tape after painting.
Step Five: Paint Your Wood
Now that your wood has been prepared properly, you can begin painting your wood. Use small amounts of paint to avoid damaging your brush and wood and allow each layer to dry before painting the next. You can lightly sand the surface of each layer after it has dried to improve the adherence of the next layer.
Use water to clean up your brush between colors and use a sponge or wide brush if you need to apply paint to a larger area. Once you have finished painting your wood, leave it to dry completely out of direct sunlight. Acrylic paint can take from a few hours to a couple of days to dry completely depending on the size of your project, the weather and humidity, and how many layers of paint you have used.
Once your paint no longer feels tacky, it is a good indication that it is ready to seal.
Step Six: Seal Your Acrylic Paint
After your paint has dried it is ready to be sealed. Before applying your sealant, wipe down the surface of your piece with a cloth to remove any dirt or dust that may have accumulated as the paint dried. The method you use to apply your sealant will be determined by the type of sealant you choose; however, each layer must be allowed to dry completely before applying the next coat.
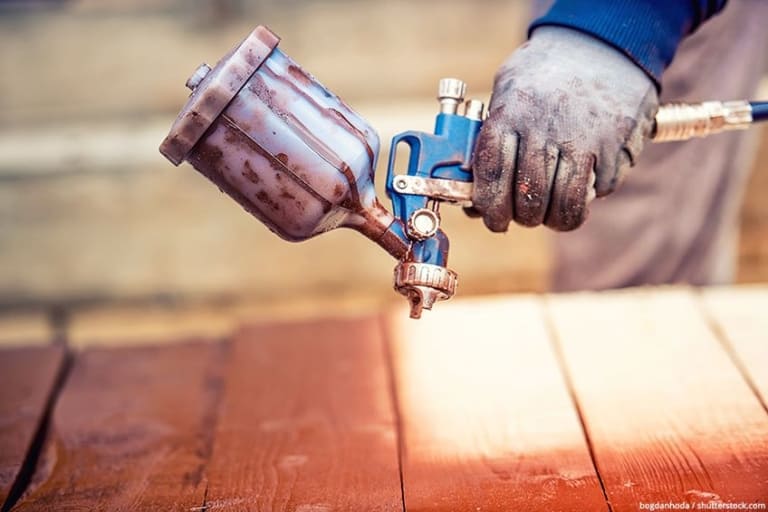
Use a cloth to apply wax-based sealants, a brush for applying liquid sealants to flat surfaces, and sponges for applying liquid sealants to edges, curves, and grooves. If you are using an acrylic paint sealer spray, simply spray your sealant directly from left to right onto the painted wood moving steadily from row to row. Be sure to keep checking the condition of your brush bristles, as any that shed off will become stuck in your sealant and almost impossible to remove once it has dried.
Irrespective of which sealant you use, apply it in several thin coats to ensure even and quick drying of the layers. This also minimizes the chances of streaks, drips, and brushstrokes appearing in your sealer.
Follow the manufacturer’s instructions regarding the curing time of your particular sealant, as just because the surface is dry does not mean that the sealant has properly set. Curing usually takes around two to three weeks and you should avoid exposure to direct sunlight or placing anything on the surface of your project that might damage it during this time. Even ink from newspapers can transfer and cause permanent staining if placed on uncured surfaces. The curing process can take longer in humid or rainy weather, so allow it to sit for an extra few days to ensure it fully dries.
Indoor vs. Outdoor Sealing
When deciding on a sealant for your wood it is important to consider if your project will be located indoors or outdoors. Knowing how to seal acrylic paint on wood for outdoors can save you time and money as you will not need to repaint the wood every few months. Painted wood that will be outdoors and exposed to the elements require more robust sealants to protect them. You will also need to use a waterproof acrylic sealer for crafts to protect it from rain, snow, and humidity.

Polyurethane is a good option for outdoor projects that are sheltered from the elements, however, it will need to be buffed from time to time to retain its shine. For painted wood that requires more protection, an acrylic polymer varnish is resistant to UV and moisture damage. Acrylic resin varnish offers the most protection for painted wood outdoors as it is resistant to moisture, UV, high and low temperatures, as well as impacts, and its high-gloss finish lasts for many years.
Aside from the type of sealant you use, how you seal your wood is also important. Painted wood that will be outdoors will need to be sealed on all sides both before and after painting.
After cleaning and sanding your wood, apply two coats of wood sealant on all the exposed sides, not just the areas you wish to paint. Once the final coat of your sealant has dried, you can apply a coat of primer and paint your wood as normal. After your paint has dried, follow it with two or more coats of your acrylic paint sealer, again applying it to all exposed parts of the wood. Allow the sealer to cure completely before placing your wood outside or exposing it to the elements to ensure the best longevity for your painted wood.
Whether you are experimenting with a different canvas or refurbishing an old dresser, acrylic paint is one of the best mediums for painting wood. Knowing how to seal acrylic paint on wood for both indoors and outdoors is key to ensuring your creations are properly protected, and that they last for many years to come!
Frequently Asked Questions
Why Is Sealing Acrylic Paint on Wood Important?
There are two main factors that make it important to seal acrylic paint on wood, namely that acrylic paint is a water-based medium and that wood is a porous material. Unsealed wood will absorb water, which will slowly dissolve the dry acrylic paint. The paint will also eventually peel and chip off the wood if it is not protected by a sealant.
How to Seal Acrylic Paint on Wood?
To properly seal your acrylic paint on wood, you will need to ensure that the wood has been prepared correctly. To prepare your wood, sand it smooth and then wipe it down with a slightly damp cloth and let it dry completely. Next, apply a layer of primer to help both your sealant and acrylic paint adhere better to the wood. Paint your wood using thin layers, and allow each layer to dry before applying the next coat. Allow the whole project to dry completely before applying your sealant. Apply your sealant in thin and even coats, being sure to cover all areas that have been painted. If you require multiple coats of sealant, ensure that each layer dries in between. Allow your sealant to cure for two to three weeks for the best results.
How to Seal Acrylic Paint on Wood for Outdoors?
Sealing painted wood outdoors requires you to seal the wood both before and after painting. Before painting and priming your wood, seal all exposed wood with a wood sealer on all sides of your project. After you have finished painting, and it has been allowed to dry completely, apply a few coats of a robust acrylic paint sealer to all sides of your project to ensure it is waterproof and protected from impacts and UV light. Acrylic polymer varnish and resin varnish are two of the best options for outdoor acrylic-painted wood projects.