Airbrush T-Shirts Tutorial – How to Airbrush Clothing
Disclosure: There are some affiliate links below and I may receive commissions for purchases made through links in this post, at now additional cost for you.
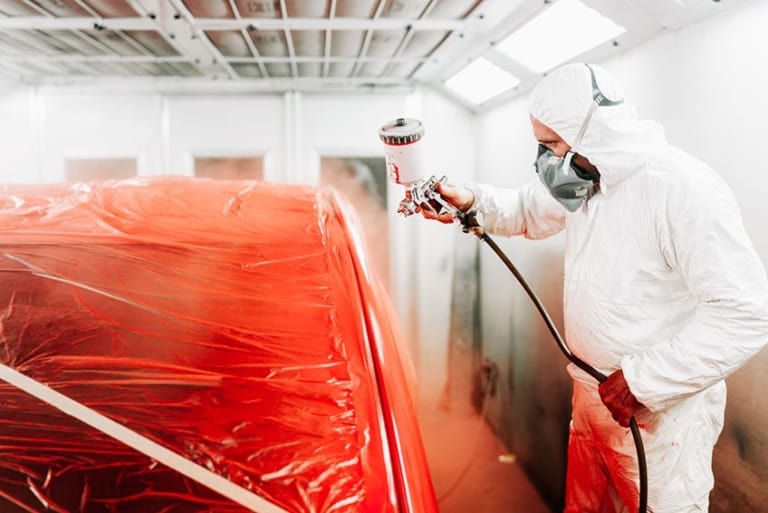
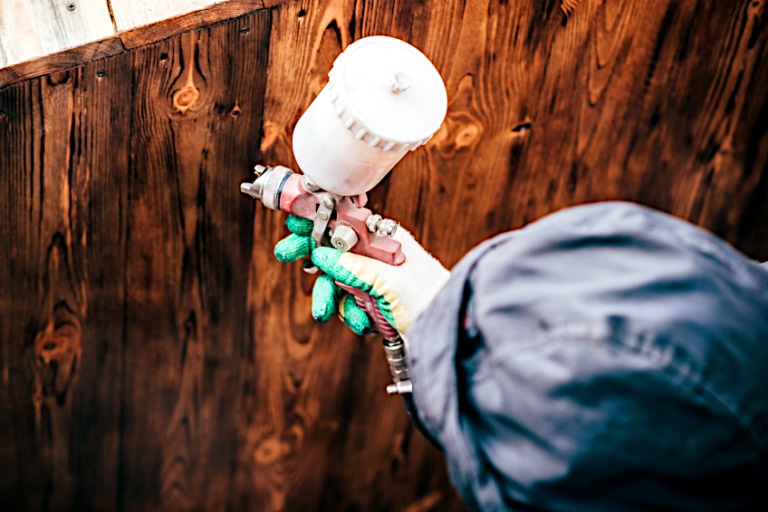
The process of creating airbrushed t-shirts can be tricky and daunting. This is because it is very hard to control the airbrush when working. The job gets better once you are able to form consistent and even strokes of paint. At this stage, you can even airbrush any cotton t-shirt with stenciled or freehand designs. There are a couple of things you need in the process of learning how to become a pro in airbrush clothing.
Things You Need to Airbrush Clothing
If you want to learn how to airbrush t-shirts, then you will need a few basic pieces of material. We have listed these below:
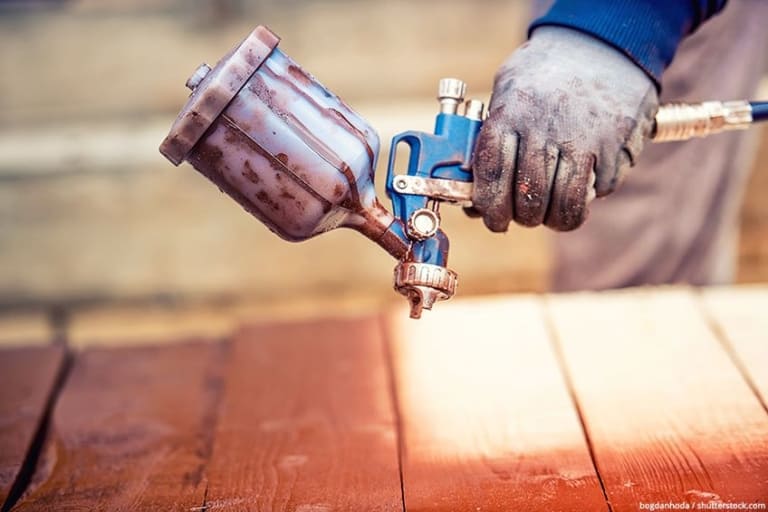
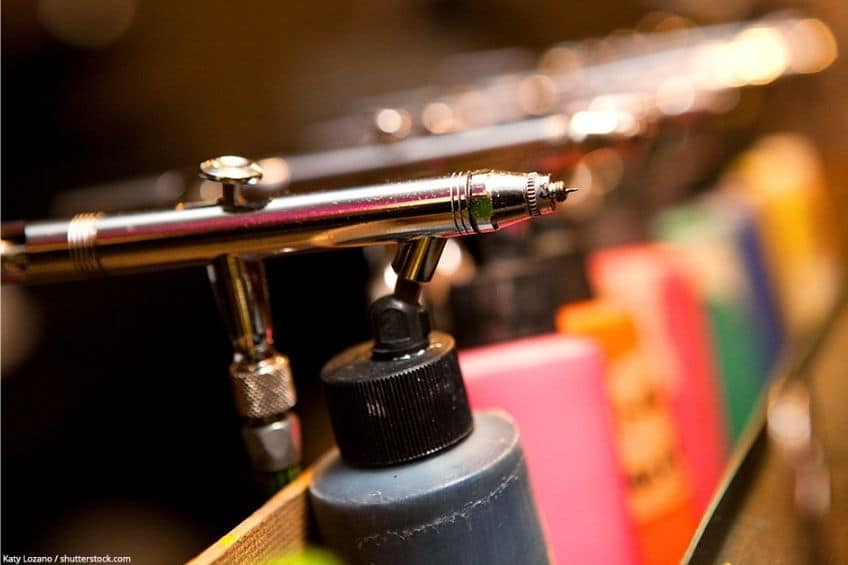
Airbrush
The siphon feed airbrush is the most commonly used airbrush kit. It is well known for being able to handle high viscosity textile paints. You should also ensure that you buy the correct hose that is most suited for your chosen airbrush.
Siphon feed airbrushes enable color changes, which is a must when it comes to airbrushing t-shirts. You should always ensure that you have two separate bottles that contain the main colors you will be using. This will make the process of changing colors easier for you.
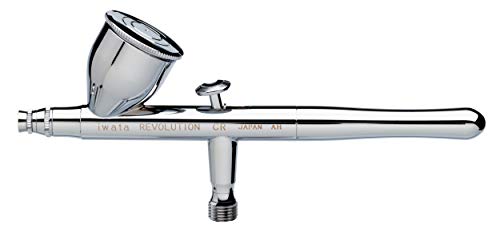
- A dual-action, top-feed airbrush
- A larger nozzle and needle combination for versatility
- Replaceable internal solvent-proof PTFE needle
Airbrush Holder
This piece of equipment holds your airbrush when not in use. Many compressors or airbrush sets come with an airbrush holder. Having one will make your job a whole lot easier and more enjoyable.
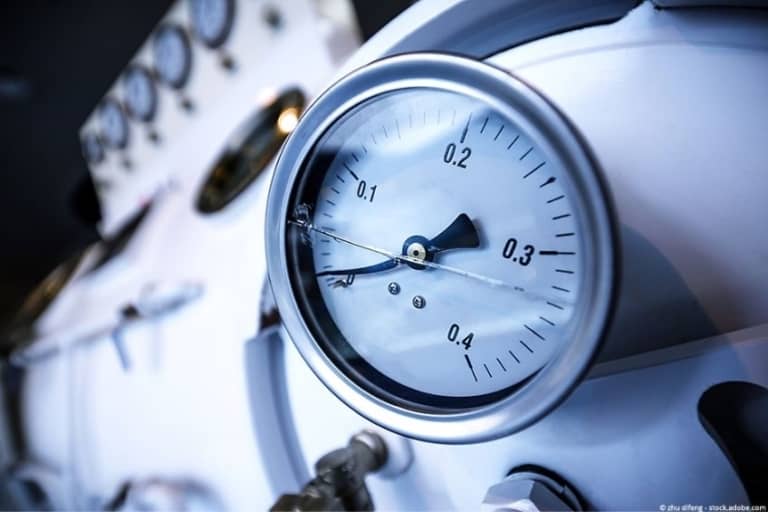
Airbrush Compressor
A recommended compressor for this kind of airbrushing should have a working pressure of 40 to 60 psi. This means that the compressor will provide a steady and uniform pressure flow at 40 to 60 psi while it is painting. Compressors marked as suitable for beginner or model airbrushing are most suited for brushing t-shirts once in a while. So if you arent going to airbrush your t-shirt very often, then you should buy a smaller compressor that is more suited for model or miniature airbrushing. It will work perfectly well. Commercially branded air compressors like Lowes, Sears, and Home Depot are most suited for airbrushing a lot of t-shirts.
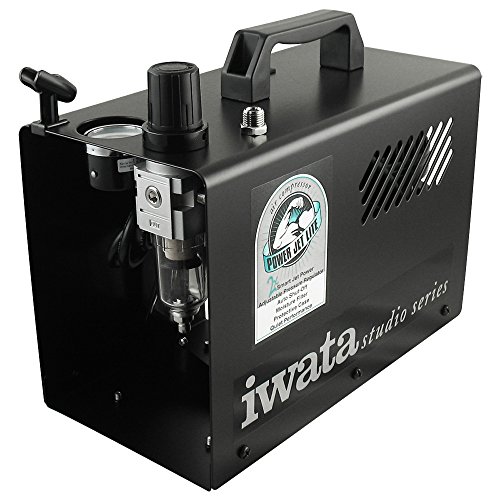
- A double-piston compressor with less moisture
- 1 - 70 PSI maximum operating pressure
- Offers precise air pressure adjustment
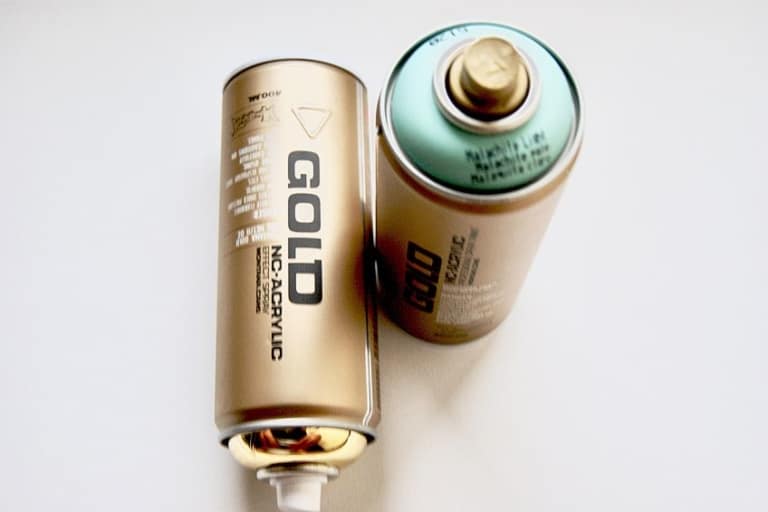
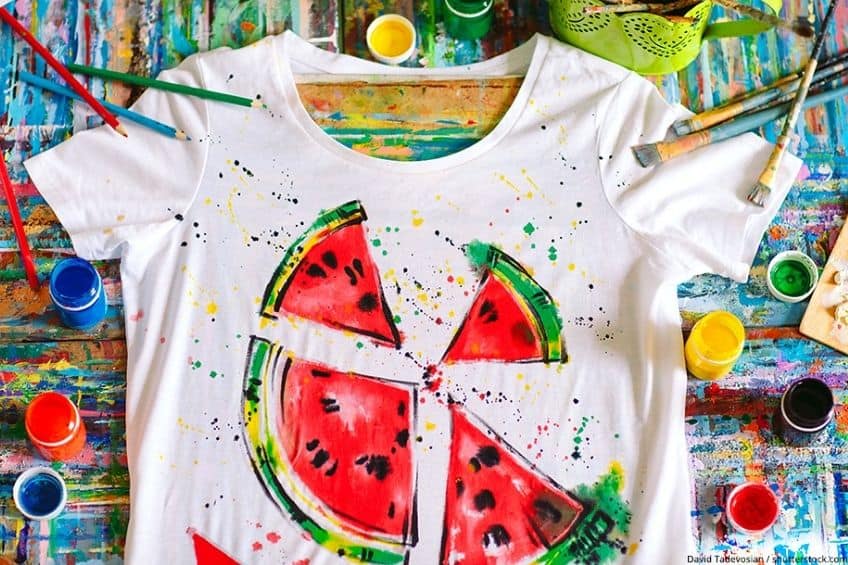
Airbrush Textile Paint
Use airbrush paint that is specifically made for airbrushing t-shirts. This will ensure that your paint does not wash off the t-shirt. A lot of these paints require a certain amount of heat to set the design once it has been airbrushed on the t-shirt.
You can opt for Goldens GAC 900 to use as a clear coat over your designs, but ensure that you heat set it also. This should be done before you start the process of airbrushing. For the best results, always apply a tone or two sets of coats using GAC 900. You can then heat set the design as instructed by the manufacturer. This will ensure that you will have a smooth surface for your design when airbrushing.

- A full set of 24 different airbrush paints
- Suitable for many surfaces - including textiles
- Vibrant, light-fast and non-toxic colors
T-Shirts
You will need t-shirts to airbrush your designs onto. Either 100% cotton or 50/50 blended t-shirts are suitable for airbrushing. It just depends on your preferences, but either of the two will work perfectly. However, 50/50 blended t-shirts are well known for shrinking less in the long run. Also, the designs on these do not fade very quickly.

- A pack of six plain white t-shirts
- 100% cotton quality men's t-shirts
- Taped neck and shoulders for better durability
How to Airbrush T-Shirts – Guided Tutorial
The following are some of the guidelines you can follow while airbrushing your own t-shirts. The process of airbrushing t-shirts is very easy and plenty of fun. However, for the best results, you will have to do things the proper way.
Preparing the Airbrush Stencil
It is recommended to use a stencil when airbrushing your t-shirts. This will ensure that excess paint will not get all over your t-shirt during the process. It is best to use pennant felt material for making the stencils when airbrushing. This material is suitable for use when you tend to use the stencil very often and repeatedly. Pennant felt material is a very cheap material for stencils and can be used for a longer period.
Choosing a Design
The process of choosing a design is also fairly easy since there are a number of options to choose from. You can use digital image software, create your own design, or find a pre-made design to use. You should note the following guidelines:
- When you opt for a digital design, you will have to print the design first before you use it. Always print your designs on heavy paper to get the best results
- When you opt for drawing your designs, also sketch them on heavy material. Do not sketch your designs on the stencil material. Let your fantasy go wild, you can use all kinds of drawings, from cute drawings to dark Sci-Fi drawings, everything is possible.
- Ready-made stencils are very easy to use. However, this option will limit your choices of using a variety of designs
Transferring the Design to Pennant Felt Material
To begin this process, you should place the design on the Pennant felt. Once the design is in place, trace the edges of the design with a pencil, this is how you transfer it onto the felt. Please note the following tips when transferring your designs:
- Pennant felt is durable and able to absorb excess paint which is why it is the best material to use. You can also opt for materials like photo paper, freezer paper, or cardstock for airbrush t-shirt stencils. However, these materials may produce messier results.
- Ready-made airbrush t-shirt stencils do not require extra steps when tracing your designs. This makes the process hassle-free.
- When using your own design, create a temporary stencil by cutting the lines around your images.
Cutting Out the Stencil
For best results when you airbrush shirts, always place the pennant felt on top of a cutting mat. When it is in place, you can cut along the traced lines. Once you are done, you can remove the scraps of material to reveal your perfect design. Here is a tip:
- A hobby or utility knife can work very well on most designs. However, detailed designs require a stencil for them to come out perfectly well.
Applying a Light Coat of Temporary Adhesive
You should flip the stencil over; let it lie on its back. Coat it lightly with repositionable spray adhesive. Follow these guidelines before you airbrush shirts:
- The adhesive enables the stencil to stay in the same place on the t-shirt. You should always use repositionable or temporary adhesive, not permanent adhesive.
- Allow the adhesive to completely dry first before moving on to the next step. This will prevent any of the residues from sticking to the t-shirt when you remove the stencil.
Positioning the Stencil
Always place the stencil in your desired position, the adhesive side should be down facing the t-shirt. Make sure you press lightly to enable the stencil to adhere to the t-shirt. Follow these tips:
- Always check the stencil after a few minutes to make sure that it is still in the correct position.
- You can use painter`s tape to secure the edges of the stencil. This will also help in protecting the exposed portion of the t-shirt from over-spray.
How to Airbrush T-Shirts: The Spraying Process
The next step in the process involves spraying. The following simple steps will make your work much easier to handle.
How to Set-Up the T-Shirt
The first thing to do is to place a board inside the t-shirt. Set the t-shirt on an easel. Here are a few tips for great results:
- Placing a board will ensure that your t-shirt does not wrinkle or fold. It will remain stretched and this will not ruin your design. It will also prevent paint from seeping through to the other side of the t-shirt.
- T-shirt boards are made up of foam, Masonite, or thick cardboard.
- Always ensure that the easel holds the t-shirt at least 32 inches or 81cm above the ground.
- The set position should allow you to move your hand freely while working.
How to Hold the Airbrush When You Airbrush Clothing
Always position your airbrush on top of the stencil. This works best when you start at the edges of the designs, rather than starting at the middle.
- The distance between the airbrush and the t-shirt often creates different effects. Always hold the airbrush at least six inches or 15cm away from the t-shirt, for a softer appearance. To get a harder appearance, hold it at least 4 inches or 10 cm away from the t-shirt.
How to Spray Even, Overlapping Strokes Across the Surface
To release a stream of paint, you should gently ease the trigger backward. Move your hand carefully and steadily over the stencil, filling every exposed area with paint.
- Always ease up your hand on the trigger to ensure that you use less paint.
- You should always move your hand steadily as you airbrush the paint onto the material. This will prevent creating globs of paint from appearing.
- Overlapping will create a more even appearance without making blank spaces.
How to Switch Colors
Remove the stencil from the t-shirt by carefully peeling it off. This should be done after filling all the stencil portions of the design.
- You should remove the tape holding the edges first before lifting the stencil
- Always wait until the paint dries completely, before peeling away the stencil. This will minimize the risk of ruining your image
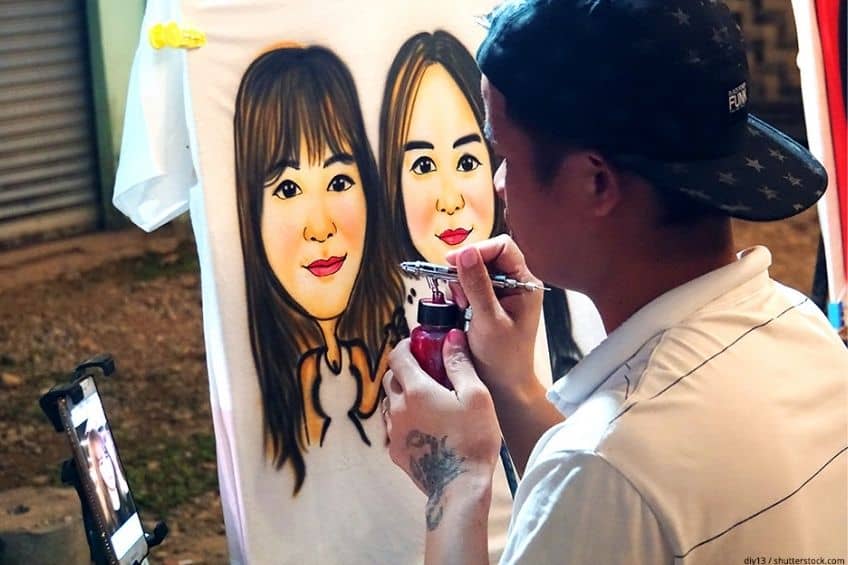
How to Add Freehand Designs
You can also add freehand elements if you want to. However, you should carefully consider your placements when working with your design. This is because there is no way of undoing any mistakes at this stage.
- The most commonly used freehand designs are letters and numbers. Always practice new and different fonts first before airbrushing them to your t-shirt
Finishing the Painted Surface
This is one of the easiest steps when you airbrush clothing. However, it is important to make sure that you finish the airbrush t-shirts properly in order to get a great result. Here are some steps to take when you finish off your airbrush clothing.
Allow the Paint to Dry
Always give your paint adequate time to dry first before heat pressing.
- The paint usually dries completely after at least 30 minutes. However, this depends on the manufacturer. To ensure that your paint has dried completely, you should attempt to put your fingers on the surface of the t-shirt. If you pull them away easily without feeling tacky, then your paint has dried completely.
Protect the T-Shirt With Parchment Paper
Always place your t-shirt on a hard and flat surface. Use a sheet of parchment or brown craft paper to cover your design.
- Do not apply heat directly to the design. This may cause the paint to peel away or stick to the iron.
- Iron the reverse side of the t-shirt, if you do not have parchment paper.
- Always ensure that the material is completely flat and smooth before moving on to the next step.
Use an Iron to Press Over the Design
Preheat your iron to the cotton setting, and then carefully use the hot iron to press the entire design. Do this process for approximately two minutes.
- Heat-treating your airbrushed designs prevents the paint from washing out
- The iron must reach a temperature of at least 300 degrees Fahrenheit
Other Options for Heat-Setting Your Design Includes:
- Using a professional conveyor set for at least 20 minutes. This must be set to 120 degrees Fahrenheit.
- Setting the heat press to 375 degrees Fahrenheit and use it for at least 30 minutes.
- Rotating the heat gun for at least 30 seconds over the surface.
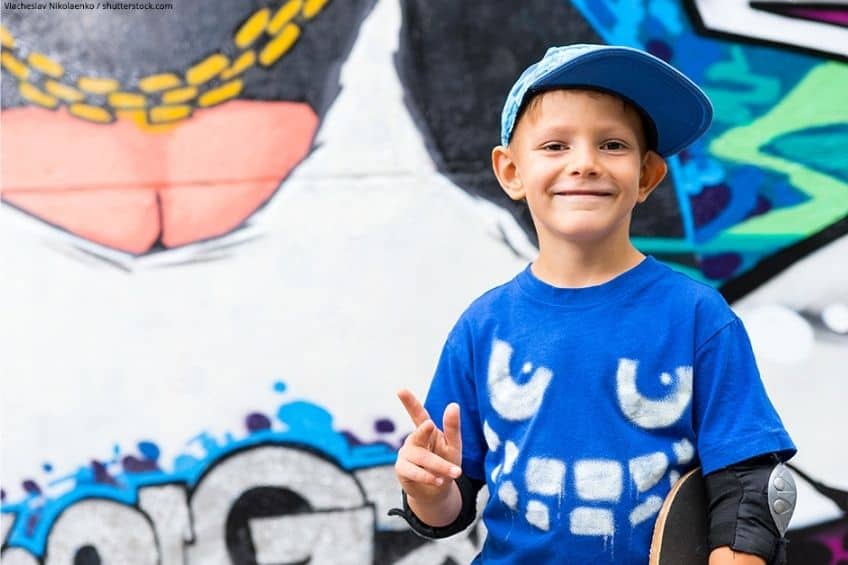
Once the t-shirt has cooled down, you can use a mild detergent to wash it in cold water. Allow the material to air dry by tumble drying the t-shirt. After washing and drying the t-shirt once, the garment will be ready to wear.
Airbrush clothing looks great and is easy to apply. If you want to start getting creative with what you wear, making your own airbrush t-shirts is a great idea. Not only is it fun and easy to do, but you end up with unique airbrush clothing in the end!