How to Stain a Fence – Staining Wood With a Brush, Roller, or Sprayer
Disclosure: There are some affiliate links below and I may receive commissions for purchases made through links in this post, at now additional cost for you.
It is human nature to want to enhance and personalize our surroundings. We are people who love to add our preferences and personalized style to our surroundings. DIY continues to grow in popularity thanks to the abundance of useful step-by-step guides available and YouTube tutorials. So, tackling a project such as fence staining should no longer be viewed as daunting. We have put this article together to assist you in tackling the task of fence staining, and why it is a good idea to do.
Why Stain Your Fence?
Maybe you are looking to breathe new life into your old, tired fence, or you have just had a brand-new fence installed and you are eager to add some depth to the look by staining the fence. Whatever your reason may be, it is never a bad idea to stain a fence.
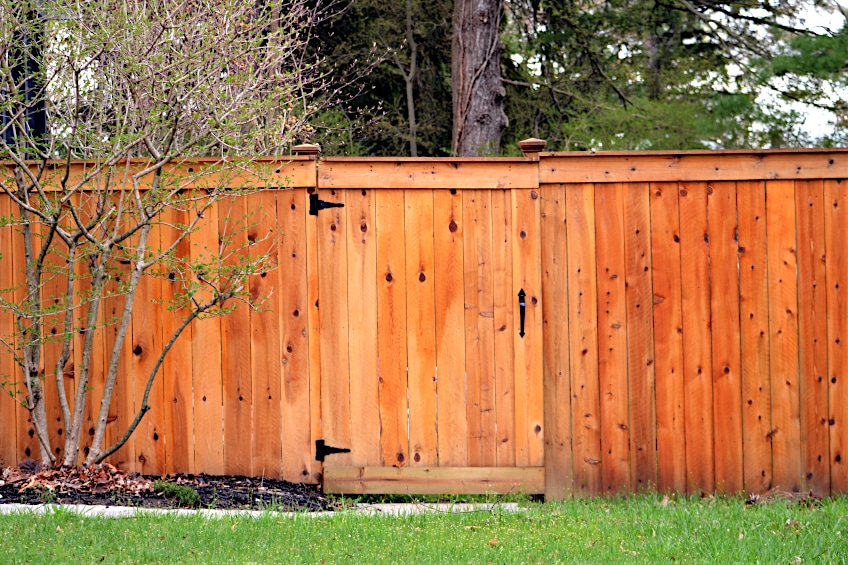
It is quite an easy process to stain your fence, while also being a relatively inexpensive way to upgrade your curb appeal. The aesthetic advantages of staining your fence are not the only benefit. In addition, the stain will add a layer of protection to the wood, offering minor weatherproofing, aversion to splitting, rot prevention, aversion to swelling, and decreasing the chances of mold and rot.
You may be wondering how you can provide added protection to your fence through staining it? In staining your wood, the stain itself will seep deep into the fibers of the wood and form a practically watertight type of seal. The seal offers protection to the wood fibers and ensures invasive particles like mold, insects, moisture, and even a level of protection from the wood splitting due to heat.
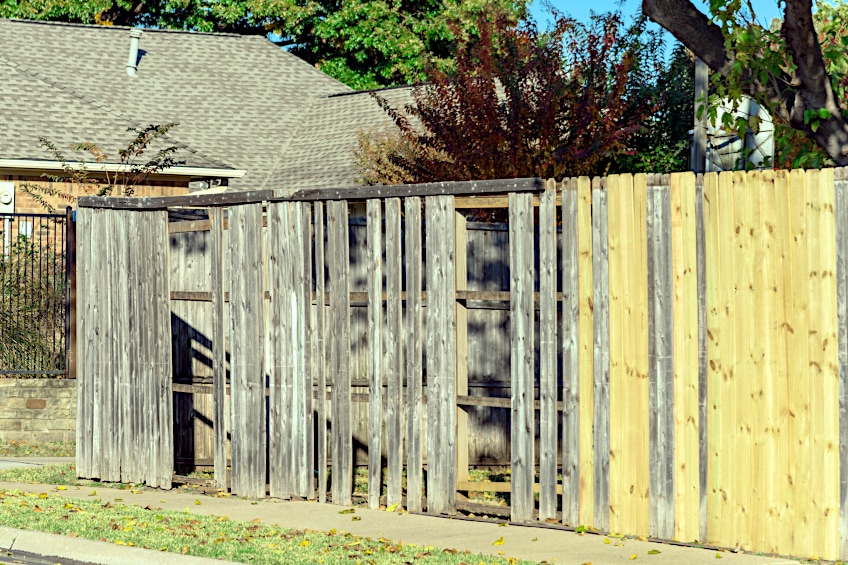
This illustrates that there are a variety of reasons why you should at least think about staining your outside wooden fences. With that in mind, there are certain fences that in no way require any added aesthetic appeal. In those cases, you can simply apply a sealer, while using a wood stain does not contain any form of dye. Either way, practically all wood will benefit in one way or another from a healthy coat!
How to Stain Your Wooden Fence
There are two options when it comes to using stains for wood fences. Which one to use all depends on your personal skills level and if the project at hand is time-sensitive. The first option is the good old-fashioned option of applying sealer using a brush or a roller. There is nothing wrong with this particular option, which has served well for years.
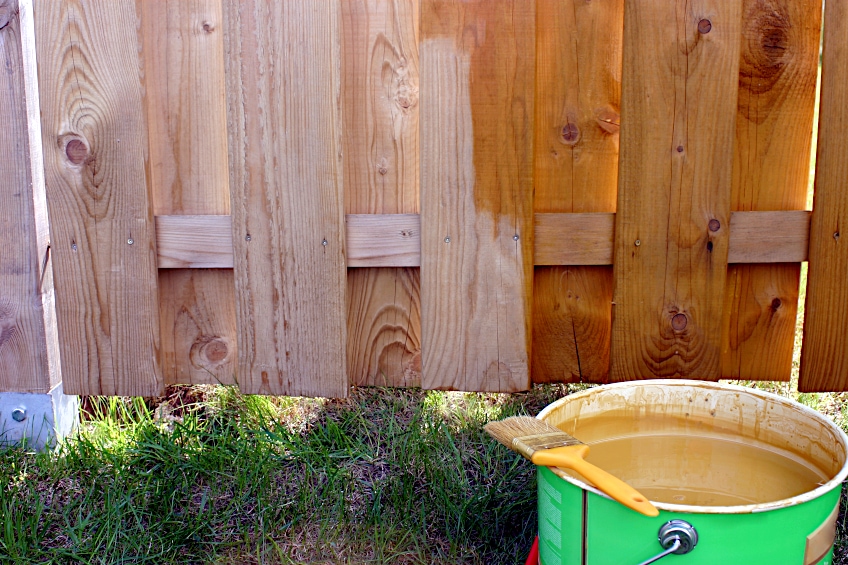
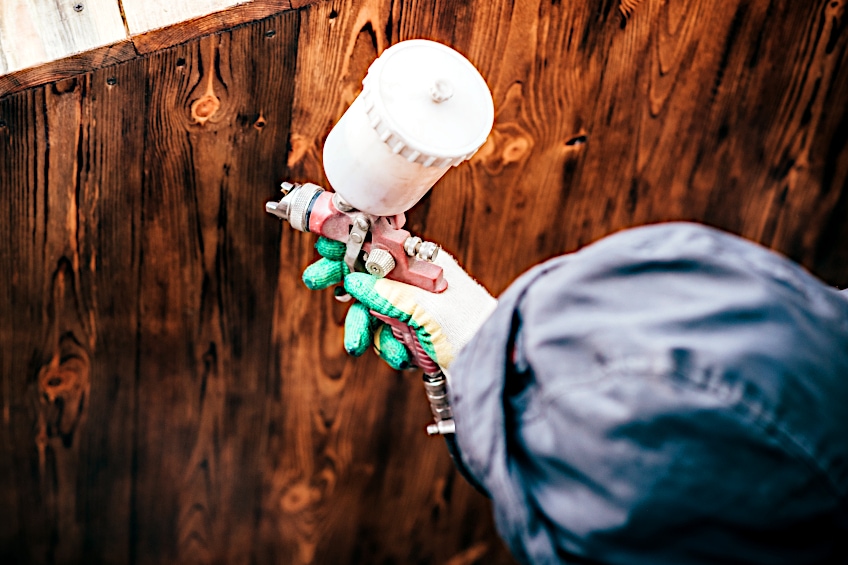
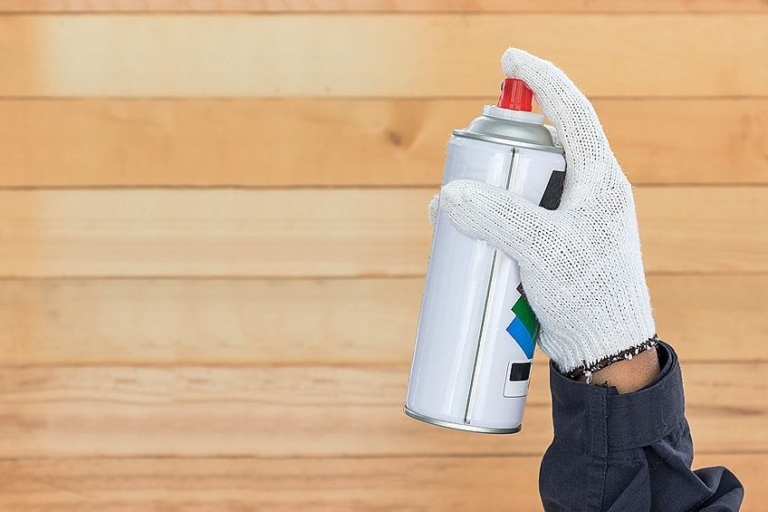
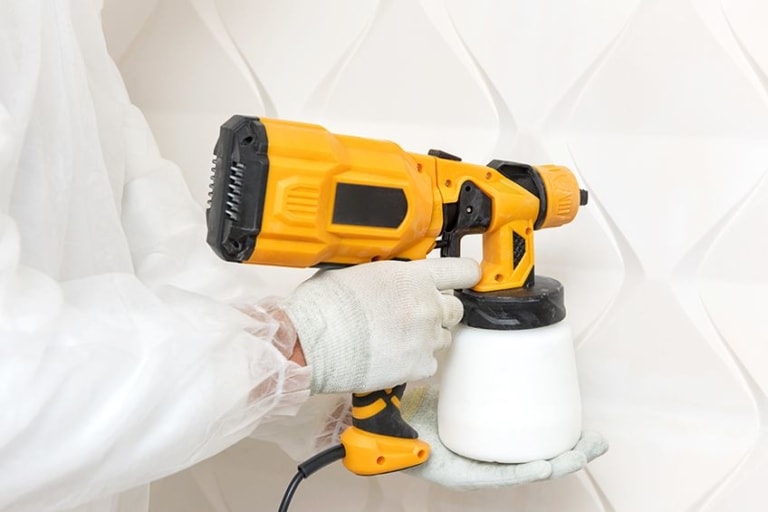
The second option is to make use of a paint sprayer, which naturally is the faster option. A paint sprayer will cover a large area very quickly but it does increase the likelihood of you creating a mess. Like with anything some aspects favor each method and downfalls to both. At the end of the day which option to go with is up to you. It will be impacted by the scale of your project and the amount of time you have to complete it.
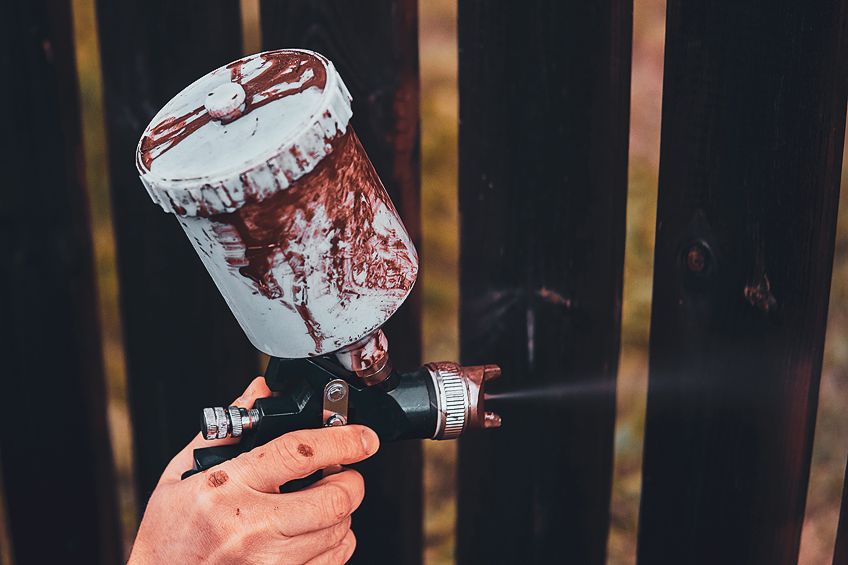
Applying Stain With a Brush and Roller vs. Using a Sprayer
When it comes to staining a fence using a roller and a brush the process is the same as painting any wooden surface. There are unfortunately some disadvantages to applying the sealer this way. It takes a lot longer than if you were to use a paint sprayer and it is significantly more labor-intensive as you are applying the product to the entire surface by hand.
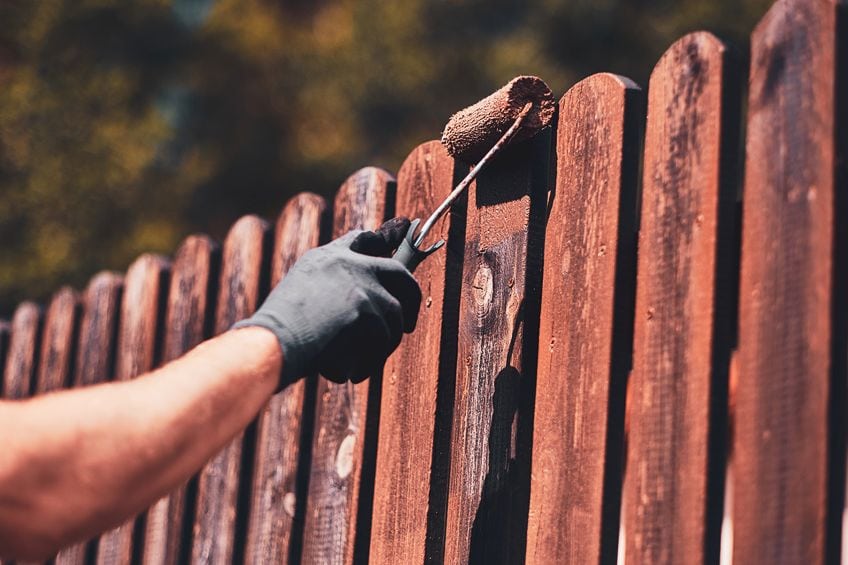
Using a brush to apply stain is not a bad option to stain a fence, as it allows you the time to pay attention to the details and it gives you a greater sense of accomplishment which is wonderful!
Prepare Your Workspace
If you are looking to tackle staining a fence that grows along the edge of your driveway or lawn you might want to put down a tarp or some other type of coverage to ensure you do not end up staining the surface by mistake. In addition to protecting the surfaces, we recommend you get all your relevant tools ready. You will need your sprayer or paintbrush, your exterior wood stain, a few cloths or rags to use to clean up any run-off, and your mixer.
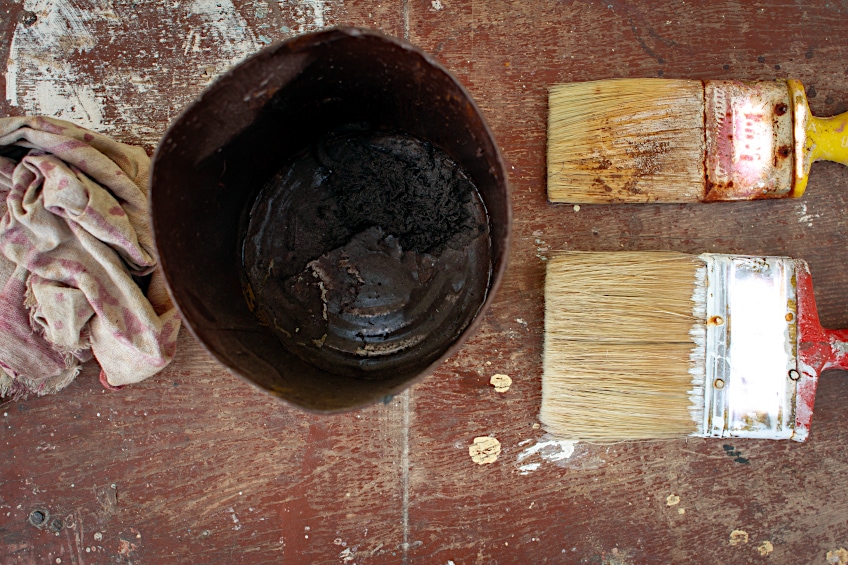
When you have finished preparing your work area, you can start to arrange your tools preemptively to stop you from having to run around later. We recommend placing your tools together on the side of your dominant hand so you can reach for them with ease.
When you have finished sorting out your tools and your space has been covered you will also need to address the need for protective gear. You will need to wear some kind of eye protection, a face mask, and a pair of gloves to both protect your hands from the stain and any potential splinters.

Prepare Your Fence Surface
As previously mentioned, the reason for staining your fence could be one of many, you might just want a fresh look to your fence, or you may want to revitalize an old fence. The surface of the wood needs to be correctly prepared before you can begin applying any wood stain. You can take some soapy water and wash down the fence. Alternatively, you can use a power washer to clean off the fence. Either option will provide you with the desired results. Before continuing, allow the fence to dry completely.

Whichever method you choose, the process of preparing your fence is quite simple. If you are working with a new fence, you will need to assess the wood to determine if it is good enough to receive a stain. To do this just wet a small portion of the fence.
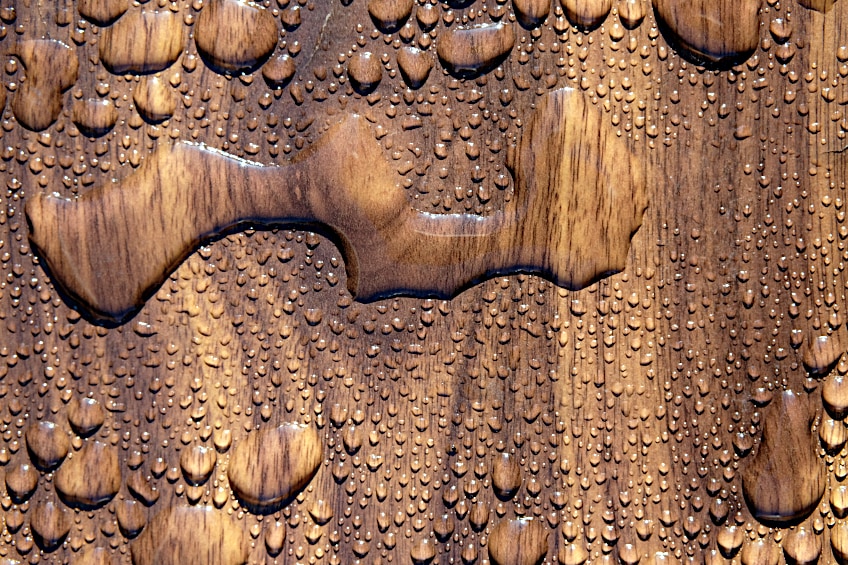
If the water is absorbed into the fence, then the wood is ready for the stain to be applied. But if the water beads on the wood’s surface you will have to work on the wood to get it ready for the stain. The wood will have to be sanded down before the stain can be applied.
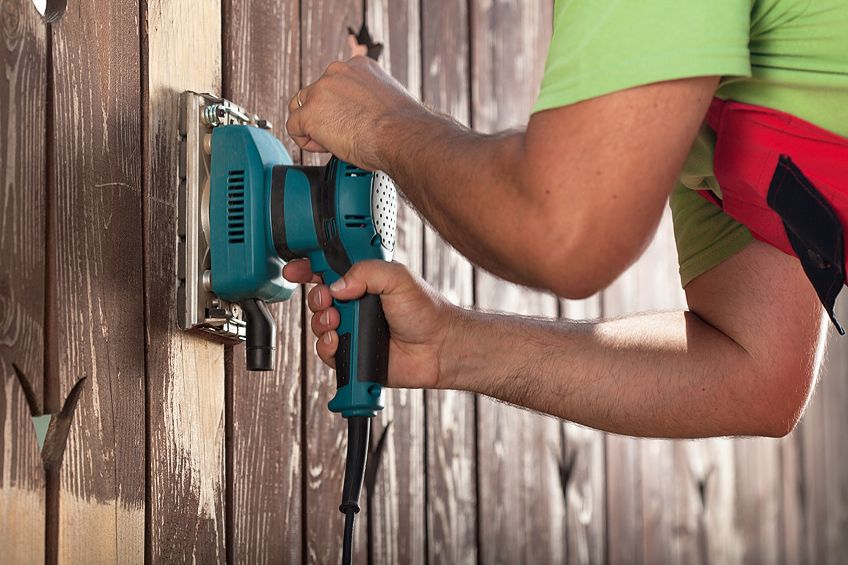
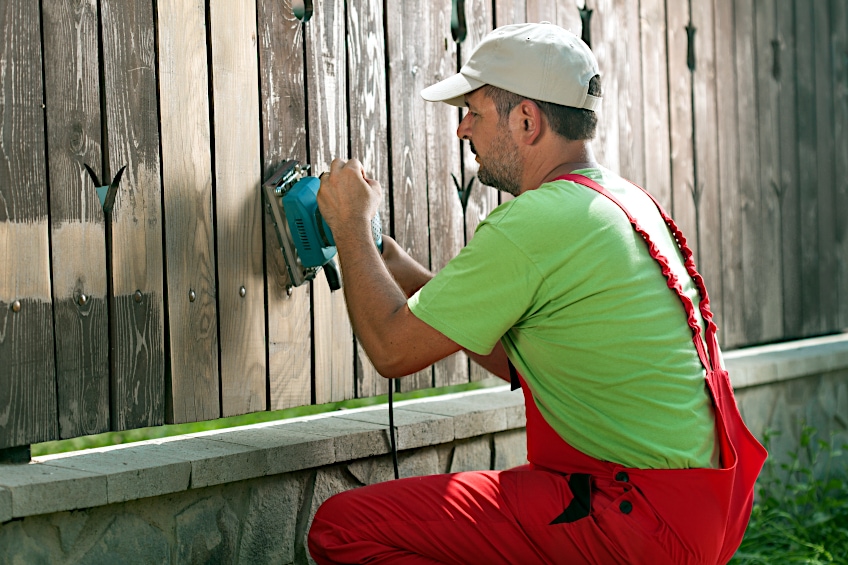
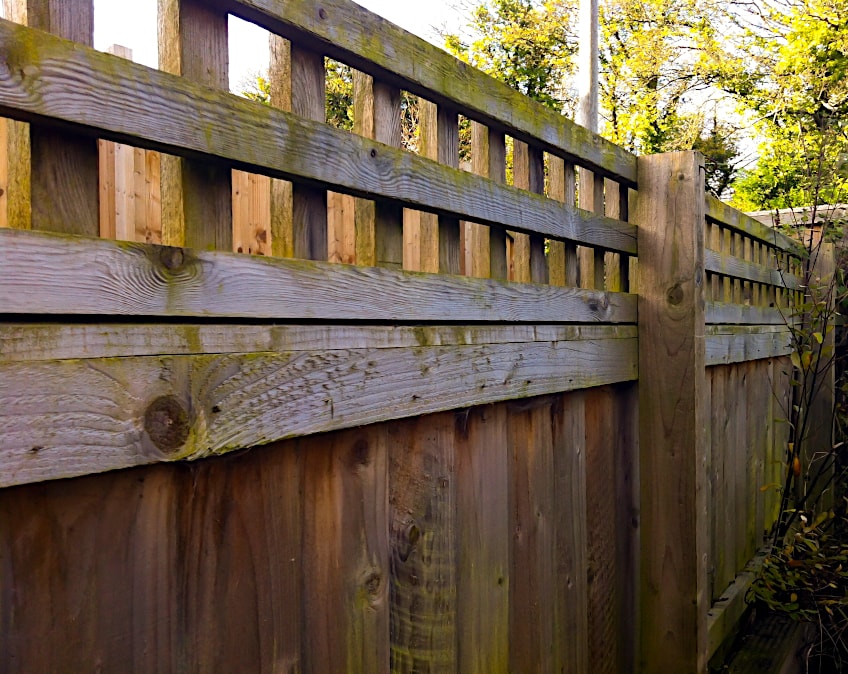
If you are working on an old fence that is showing signs of wear and tear, there is a good chance the fence has previously been stained or coated. You will therefore have to sand down the fence’s surface and expose the fresh wooden fibers beneath, to ensure that the wood will be able to absorb any stain you apply. If you are tackling a large fence, we recommend you sand the length of the board and work in portions.
Fill Any Holes in Your Fence
Regardless of whether you are restoring an old fence or working on a new fence, there are benefits to using wood filler on the surface, before applying any wood stain. There can be defects in the boards of new fences that will need to be filled. Naturally, an old fence will have received damage over the years and will require some filler. The filler will assist in creating a surface that is flush, and perfect for you to then apply the wood stain.
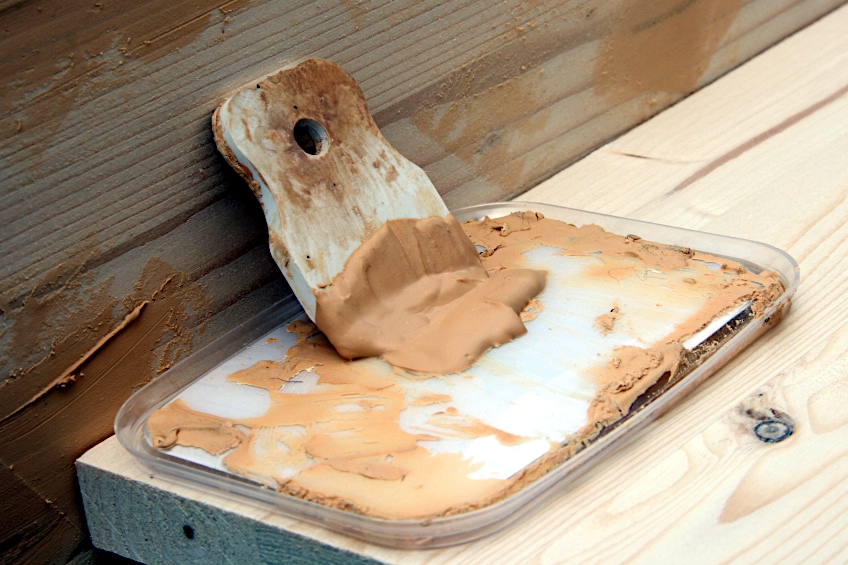
Simply apply some wood filler to the recesses and cracks along the board’s surface and make sure to check the edges of each board are even. Even if it is just one area that has been left untreated, it can result in rot forming.
When you are happy that you have filled all the spots on the surface of your fence, look at each board and determine the condition, while you allow time for the filler to dry. While you might not find any problem on a new fence, in all likelihood there will be one of two slats that may need to be replaced. Before you move on to the next step, the wood filler will need to have dried completely. Sand where you have applied filler until smooth.
Stain Your Fence
We have split this section into two parts, as there are two methods you can use when staining your fence. As we have previously discussed you can either use a roller or brush or you can apply the stain using a paint sprayer.
Using a Roller or Brush to Apply Stain to Your Fence
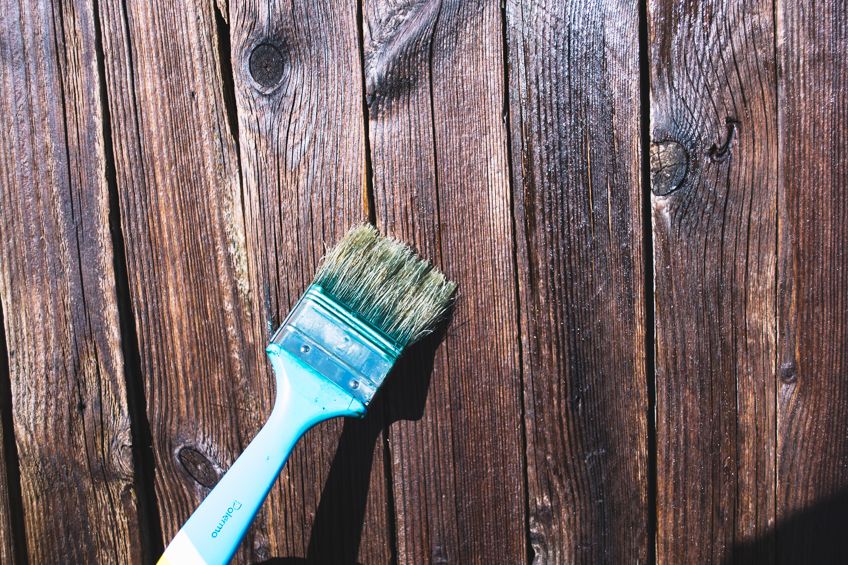
It is very easy to use a brush or roller to apply stains to your fence. If you are using a brush, just dip the tip of the brush into the container of wood stain and apply it to the fence’s surface. When applying the stain, apply it to the length of the board, this will provide maximum efficiency and coverage. To get between the edges of each board use the edge of the brush’s bristles.
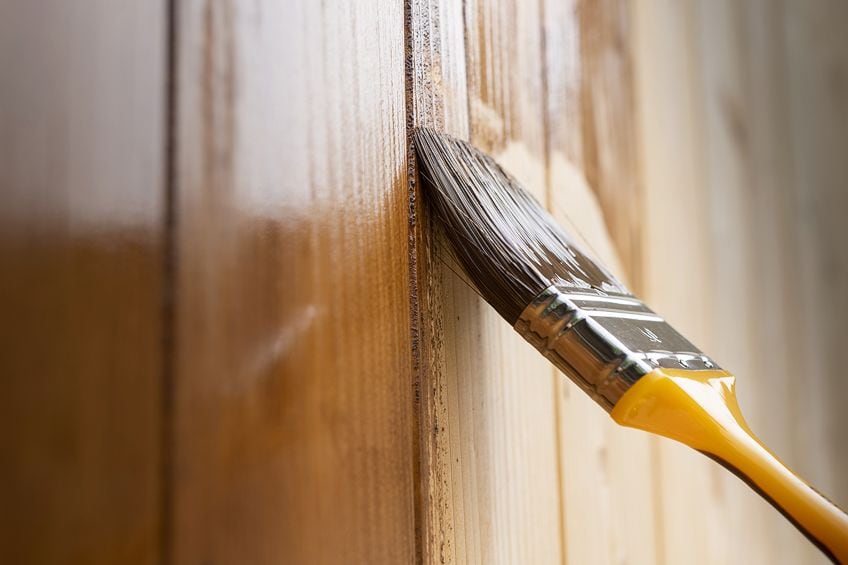
In doing this you will ensure that the edges of the boards also receive the necessary weatherproofing benefits that are provided by wood stain, even though they are not visible.
Do not be nervous to be generous with the stain when applying it using a brush, as if you apply too little it can cause overlapping to occur which is difficult to remove. When using a roller, it is quite similar to painting a surface. Fill up your mixing tray with the wood stain and dip the roller directly into the substance.
We recommend that the roller you use has a medium nap to achieve the best results when working with wood stain. You might have to begin applying the wood stain to the fence board vertically, or roll it over the fence horizontally, the choice is yours. Remember that the vertical option provides you with the added advantage of the wood stain seeping right into the board’s edges.
Applying the stain vertically when working with a roller also means you greatly reduce the likelihood of overlapping. Any excess stain will move towards the end of the board. In terms of the range of motion and efficiency, painting vertically from the top down is the best technique when applying the stain with a roller.

Applying Stain to Your Fence Using a Paint Sprayer
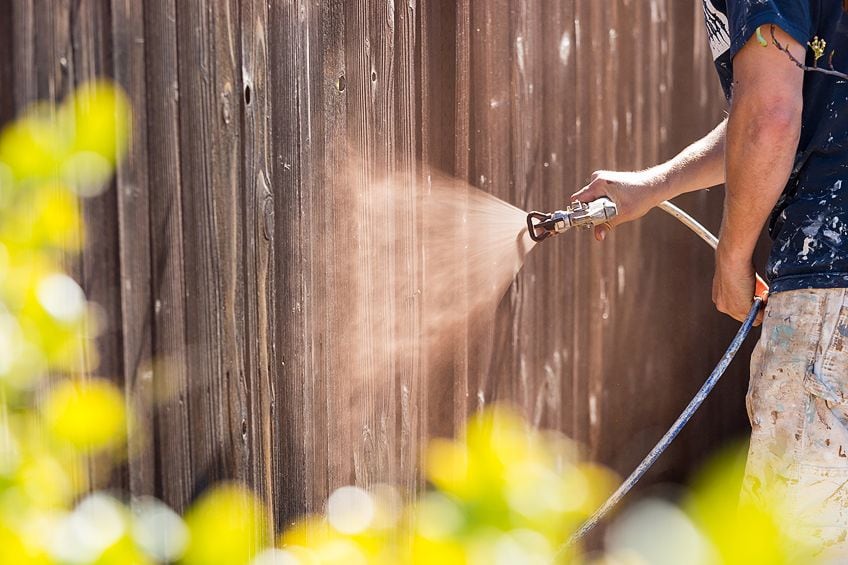
It is relatively easy to stain a fence using a paint sprayer. You will need to find out if the sprayer you will be using is graded for use with stain. If it is not graded accordingly, you could do significant damage to the device. Most of the modern sprayers available on the market are graded for use with stains. When you are certain that your sprayer is graded for use with the wood stain you can start filling your sprayer’s hopper or tank with the wood stain.
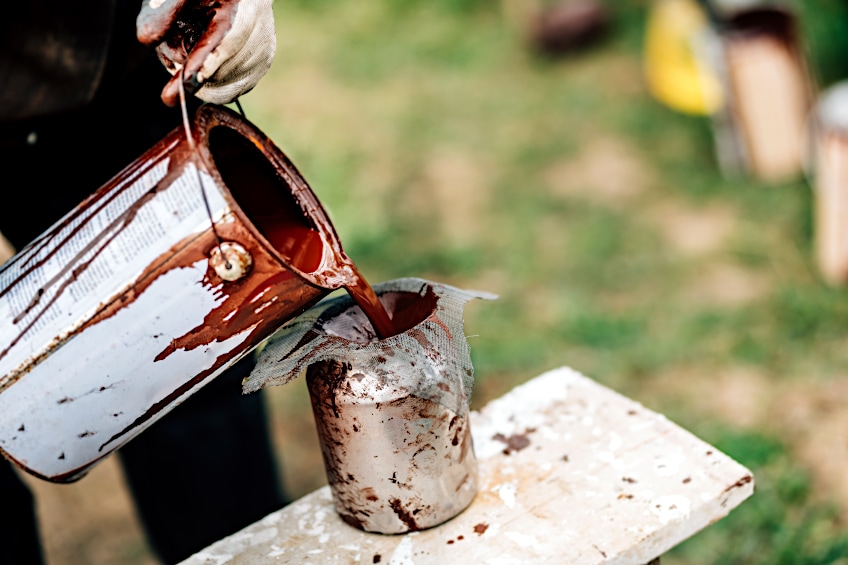
When you have finished filling up the sprayer you will need to set up your sprayer tips, determine your spraying pattern, and what pressure rating you require for use with the wood stain before you can begin spraying stain.
Different liquids have different consistencies and therefore you will have to use different pressure settings, spray patterns, and feed rates to ensure that the liquid is dispensed effectively giving off as little as possible overspray and/or splatter. For the majority of wood stains (either acrylic or oil-based) the ideal setting for efficient atomization would be a high-pressured setting paired with a passive feed rate. When you have finished determining your settings you can start to apply your stain to the fence.

Which direction you attempt when spraying stain is completely up to you, as the sprayer will ensure that adequate application is done, provided you use the distance management and necessary techniques when spraying on the wood stain. When applying wood stain we recommend medium distance, as if you stand too close to the board you may end up with the board being over-saturated with wood stain. On the other hand, if you stand too far away you could end up with hardly any stain being applied, which means you will have to apply a second coat.
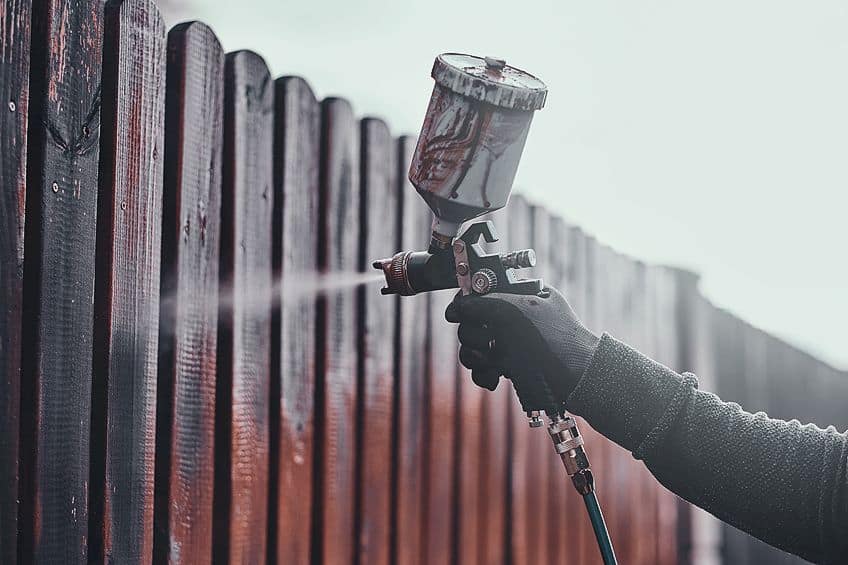
When staining a fence with a sprayer, your technique needs to be focused on your wrist, using its range of motion to provide even, uninterrupted passes over the wood’s surface. Using a paint sprayer is the most effective method for staining the majority of surfaces. It is considered the best way to stain a fence, as it is a less time-consuming and efficient method. If you have a fence with irregular forms or inlays, then staining a fence with a sprayer is the best option.
Assess Your Fence
When you have done your last pass using the paint sprayer, or the final stroke with your roller or brush, you will need to allow sufficient time for the stain to set and dry completely. How long the stain will take to set and dry depends on the type of stain you used. An oil stain takes about 48 hours to dry completely, while acrylic wood stain will be set and dried in roughly three to four hours.

When you are certain that your stain has dried completely you will be able to assess the results and determine if you have achieved the finish you were looking for. You may notice that wood stains that have been applied with a roller or a brush are significantly more intense in comparison to stains that have been applied with a paint sprayer. This is because when using a brush or a roller you are not applying a metered amount, and when you are working with a paint sprayer you normally apply less stain.
Do not be concerned if your stain does not look dark enough. If your stain is too light, you can simply apply an additional coat.
Seal Your Fence
How to stain a fence properly is something that has been a topic of discussion forever. However, it is often overlooked when it comes to the topic of sealing a fence once it has been stained.
You can stain your fence to spruce up your home’s curb appeal. Staining your fence is also a great way to spruce up your garden, but how long will your hard work last? How long your stained fence will last is greatly impacted by the environmental elements the fence is exposed to. Sealing your fence once you have finished staining it will significantly extend the life span of your stained fence.
As previously mentioned, wood stains that can be used on wood fences are available in two varieties: acrylic-based stain and oil-based wood stain. The acrylic-based stain normally comes ready-mixed, continuing sealer in the mixture. Oil-based stain (which tends to be the more popular option) will require a sealer to be added after the stain has set into the wood.
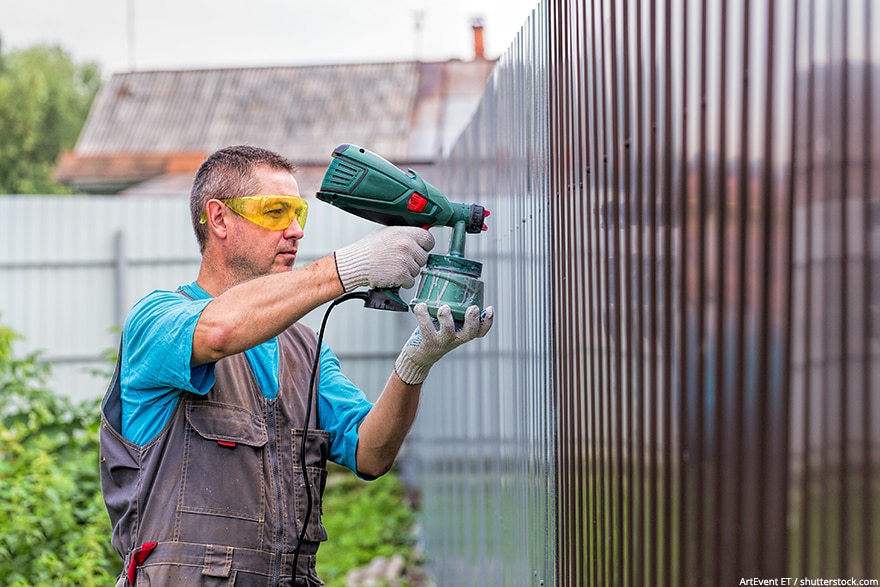
You can apply sealer using the same method you used to apply the wood stain to the fence. Once again you can decide if you would prefer to use a sprayer or a brush or roller. In this case, we highly recommend using either a roller or a brush so that you can avoid damaging your sprayer in any way. When you have finished applying your sealer you will need to wait about 72 hours before you can physically touch the fence again.
Now that you are equipped with the knowledge of how to stain a fence, and how to select the correct stain for wood fences, the difference between using a sprayer or a brush or roller to apply the wood stain, and how to seal your newly stained fence, you can begin working on your fence. If you will be applying your wood stain using a sprayer you will need to check if your sprayer is graded to be used with wood stain. Remember to follow the necessary safety measures and ensure that you have good ventilation where you are working. Finally, remember to always stain the edges of your boards.
Frequently Asked Questions
Should You Stain Your Wood Fence?
When it comes to staining your fence there aren’t any reasons not to. Your fence will last significantly longer when you have finished staining it. If you have stained and sealed your fence correctly, the wood surface will be practically unaffected by the majority of weather conditions for roughly four years. The period can be even longer if you are located in an area with more favorable weather conditions.
When Applying Wood Stain, Should I Use a Sprayer or a Roller?
When staining a fence, we recommend you use a paint sprayer. If you have an option, rather go for an airless sprayer as it can be difficult to clean out the canister and/or the paint hopper when the stain sets in. Due to it being very labor-intensive using a brush or a roller when staining a fence is not recommended.
What Is the Best Way to Stain a Fence?
The best way to stain a fence is either to use a wide brush or to use a paint sprayer. You will need to ensure that the paint sprayer you are using is graded for use with wood stain. Alternatively, if you are working with a brush, that your paint brushes’ bristles are conducive to being used with a thick consistency substance like a wood stain.

