Best Sprayer for Lacquer – A Guide to Selecting the Best Lacquer Sprayer
Disclosure: There are some affiliate links below and I may receive commissions for purchases made through links in this post, at now additional cost for you.
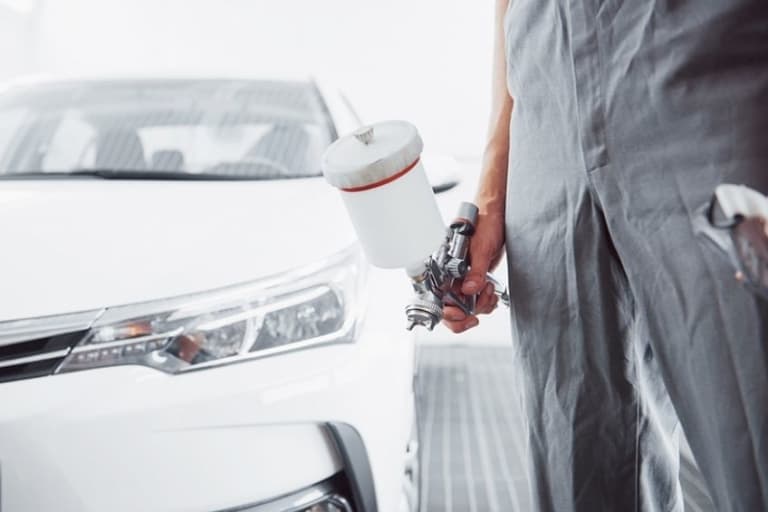
You have just finished your latest project, you stand back giving it the one over, looking for chips, overspray, orange peel, or spots you missed. You find nothing, your coverage is perfect, and you know you should just wrap things up, but something is tugging at the back of your mind telling you that something is missing. The finish needs something…a shimmer, something to make it pop. It clicks in your head – lacquer! You reach for your sprayer to clean it out and give your masterpiece that finishing coat of lacquer.
What Type of Spray Painters Can Be Used for Lacquer?
We are always looking for the best finish for our projects, which often means that we spend a copious amount of time choosing the right color and consistency, picturing the end product in our heads. Sometimes the best way to finish your surface is with a nice sheen finish, and there is arguably no better way to achieve this than with lacquer!
This then begs the question, what do you need to apply lacquer? Well, you could go at it with a brush and roller and risk creating brush strokes and over-application, or as we would recommend, you could simply use a lacquer-friendly sprayer.
Back before sprayers were mass-produced, versatile, and affordable, you had to go out and buy a sprayer that was specifically designed for the application of lacquer, and if you could not afford one, you either had to take it to someone who had one of these special sprayers or risk the life of your ordinary sprayer to get the job done.
Fortunately, we live in the now, and there are tons of sprayers out there that can handle both lacquer and conventional paints. These sprayers are characterized as having a much higher PSI (pounds per square inch) output and larger spray nozzles to accommodate the thick and sticky consistency of lacquer.
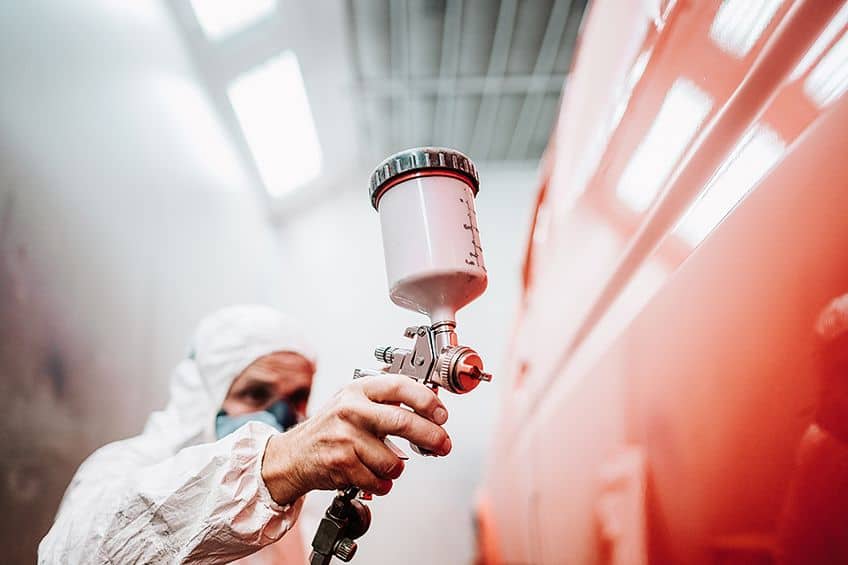
Lacquer spray guns need a higher-pressure output to ensure effective application of the lacquer itself. Why? Well, paint is much thinner, and therefore the pressure needed to create the adequate viscosity for its application is much less than the immense amount of pressure needed to force lacquer through the tip of the spray gun. This allows for the lacquer to be atomized and applied to the workpiece, creating that clear protective layer we all know and love.
High-volume low-pressure (HLVP) sprayers are objectively the best choices when working with lacquer due to their consistent and adjustable air pressure, ensuring that your lacquer always has sufficient pressure to be expelled. As a result, this reduces the likelihood of splatter (which can be a nightmare to clean up).
Is Lacquer Applied Differently to Spray Paint?
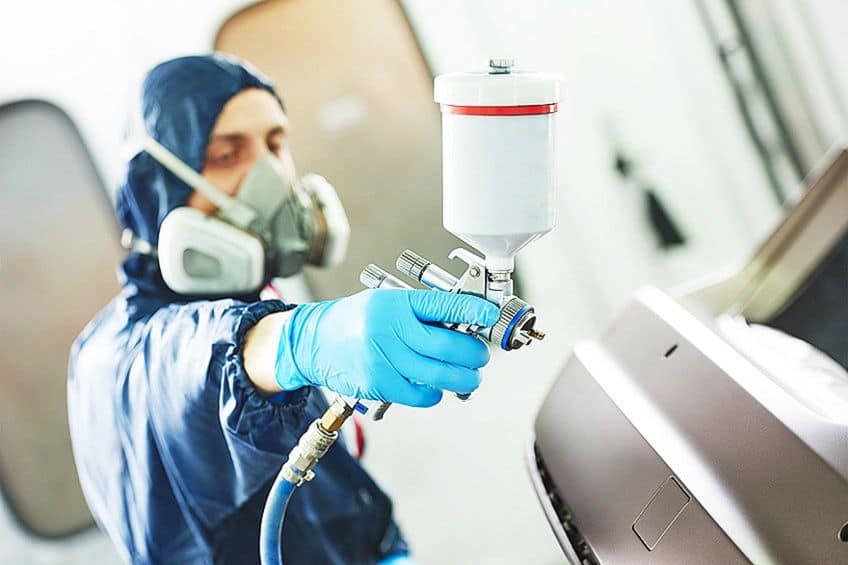
One would imagine that there is a special method to applying lacquer due to it being fundamentally different from paint, but in reality, the application method is quite simple and shouldn’t have you hopping over to YouTube for a 15-minute tutorial (although there are tons out there). You simply put the lacquer in your paint canister – also known as a hopper – adjust your air pressure accordingly, and then apply it just as you would spray a finishing coat of paint.
There are some tips, tricks, and techniques you can use to ensure the best application and adhesion of your lacquer, but these aren’t necessary or your first time and can be self-taught through repetition and experience.
If you are working with medium-sized furniture or a workpiece that is going to be outdoors much of the time, you might want to consider applying few coats to ensure the longevity of your workpiece and the preservation of your finish.
A good way to go about this is to apply one coat and allow it to set. Then, once it is ready, roughen up the surface with some sanding paper, being sure to work in the same direction as the grain of the wood. You can then apply another coat. Repeat this process three times and you will have a finish that lasts a lifetime, ensuring that your surfaces don’t get scratched as well as decreasing the chance of premature rot and water damage.
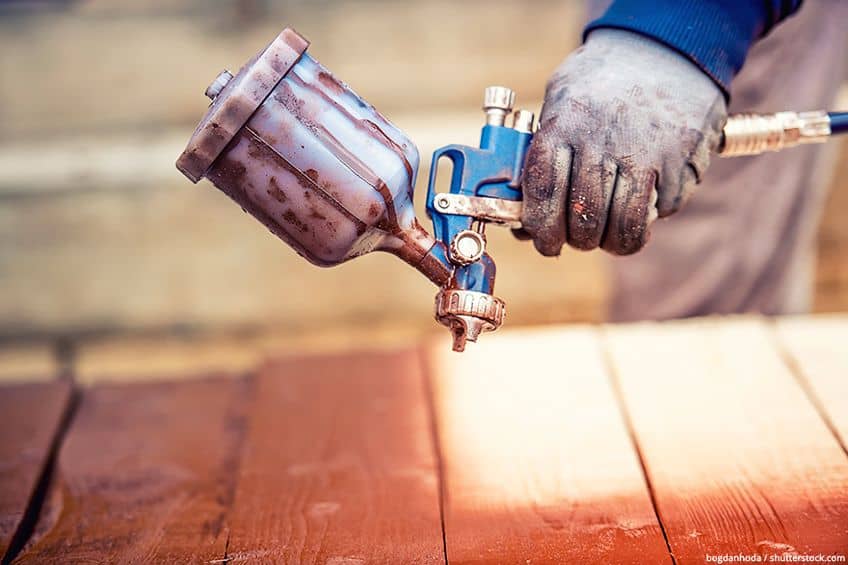
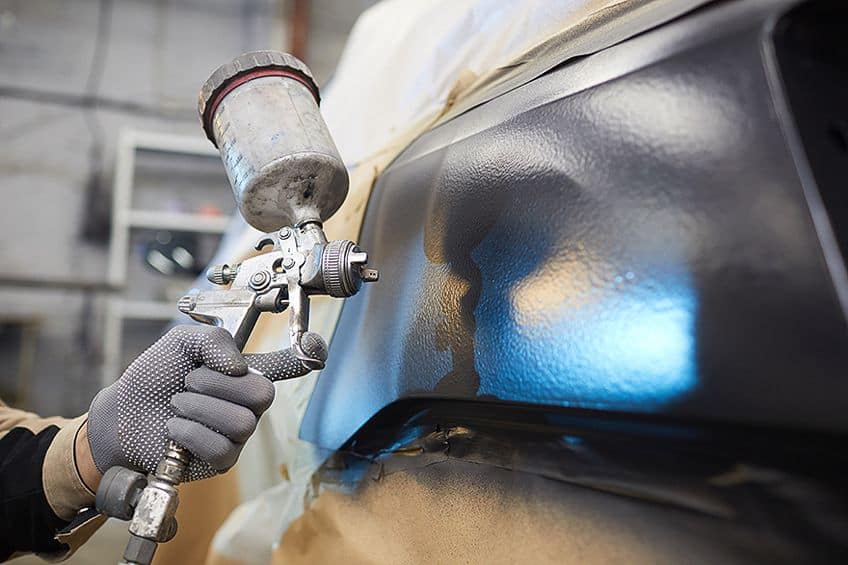
Remember that lacquer is quite thick, so if you forget to clean out your paint canister and/or spray gun after using it, it will definitely clog up those pathways, which can lead to a messy removal process. Aside from the actual mechanisms inside your spray gun, you should ensure that you regularly clean out your spray tips and nozzles when working with lacquer, because, as you probably guessed, lacquer that isn’t cleaned from these components can harden and make them useless.
A good workaround that most lacquer spray guns have for this problem is multiple spray tips that can be easily detached and changed. This means that you can simply pop your used spray tip into some solvent for cleaning and attach a new one, allowing you to keep working.
HVLP vs. LVLP for Lacquer Application
Arguably the most asked question on the internet about paint sprayers, the age-old battle between HLVP and LVLP sprayers will seemingly rage on for many years to come. The reality is that there is no objective winner between these two types of sprayers – they are simply better suited for their intended applications, which means that choosing between the two often boils down to what you are trying to do.
HVLP: High-Volume Low-Pressure Sprayers
As we covered previously, there are certain applications where HLVP sprayers are objectively the best tool for the job, and when it comes to lacquer application, they are undeniably the best choice. Why, you might ask? Well, the answer is in the name: HLVP sprayers process a high volume of liquid at a relatively low pressure, which creates a consistent pressure concentration at the point of atomization. Put simply, it keeps the liquid (in this case, the lacquer) pressurized at the spray tip until you pull the trigger, which forces it through the tip and causes it to atomize and spray onto your workpiece.
Many professional craftsmen and hobbyists find that the HVLP sprayer is the best sprayer for lacquer.
LVLP: Low-Volume Low-Pressure Sprayers
Lacquer is thick, so you need consistent pressure for it to be atomized as soon as your trigger finger even switches. The alternative is that the lacquer is not pressurized adequately, and this means that when you pull the trigger, you’re going to be waiting a while for sufficient pressure to build up to force the lacquer through the spray tip. The best-case scenario is that you have some lacquer splattered all over your perfectly painted workpiece.
The worst-case scenario is that your spray gun is ruined because it is unable to generate enough consistent pressure to atomize the lacquer inside the spray tip. Keep in mind that it is pretty easy to remove cured lacquer from a single recess like a sprayer tip, but cleaning lacquer out of a spray gun made of small, intricate orifices is significantly more challenging. Spraying lacquer with HVLP sprayers is therefore objectively easier.

Choosing a Feed Configuration for Lacquer
This can be a tricky question to answer considering that different sprayers are equipped with different feed configurations. A pressure feed is characterized by a separate tank containing your lacquer, which is pressurized by your compressor, therefore feeding the substance through to your pressure gun for application.
A siphon feed consists of the paint canister being attached underneath the spray gun with the neck of the canister feeding paint upward into the nozzle. A gravity feed, on the other hand, is the inverse, consisting of the paint canister being located on top of the spray gun with the neck of the canister feeding lacquer downward into the nozzle.
Many a craftsman finds that pressure feed and gravity feed configurations work best for the application of lacquer, which is due to the thickness of the lacquer.
A pressure feed might not have gravity on its side, but it helps to have the lacquer “pre-pressurized” straight into your spray gun. However, for more conventional small-scale applications like furniture or crafting, the gravity-feed configuration is more popular due to the advantage of having both gravity and air pressure assisting in the application process. Another reason as to why a gravity feed is popular in these work environments is due to the small amount of lacquer needed for these jobs, meaning that you won’t be cleaning lacquer out of a large canister and nothing gets wasted.
The Best Paint Sprayer for Lacquer
Shopping for new clothing can be frustrating. You want something that looks good and complements your features, and you certainly don’t want something you will only be able to wear once. The same can be said when choosing a paint sprayer. Having a sprayer that works well with paint, lacquer, and even primer is a dream come true, and although there are versatile sprayers on the market, they often do one job better than the other. That being said, we found some of the best sprayers on the market for you to choose from.
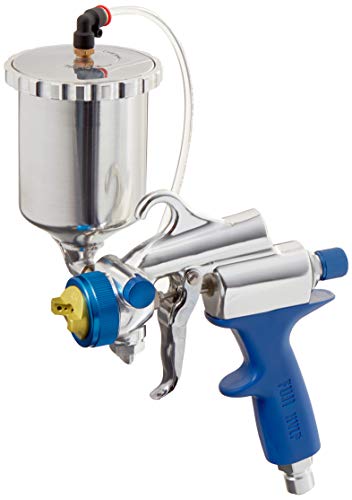
Best Overall: FUJI Gravity G-XPC Spray Gun
Some things are built with the user in mind, and some things are built to accommodate a budget. The Fuji Gravity G-XPC Spray Gun is certainly not built to a budget, showcasing what a premium-grade sprayer should both look and feel like. Sporting a chromed mirror finish, you will feel like a professional painter even if you are only working on the odd kitchen cabinet on weekends.
- Features a pattern control knob to adjust the size of the fan pattern
- Non-bleed spray gun for less blowing around of shop dust
- High-efficiency air cap installed for even less overspray
The best part of this sprayer has to be its unique gravity-fed canister. The feed is pressure-assisted via an auxiliary inlet which pressurizes the contents of the canister as it is being fed into the spray gun. However, what really sets the Fuji apart is its innovative swivel action canister. As we covered previously, the Fuji uses a combination of pressure feed and gravity feed technology to ensure that the content of the canister is always sufficiently pressurized.
You should also know that in addition to this feature, the sprayer also has a flange attached to the canister that can be pivoted to the front and back of the gun. This means that should you be painting the underside of a table, the canister (which would normally lay horizontally) can be tilted and secured into a vertical position to ensure maximum efficiency and delivery of your lacquer.
This is a premium product, which you will undoubtedly feel every time you hold the spray gun in your hand. This is partially due to the all-around stainless-steel finish and insulated handle, which reduces feedback to your hands and wrists.
This product is certainly a treat, although it does leave something to be desired in the area of capacity. Unfortunately, the Fuji only holds roughly .85 pint or 400cc’s, which means that when spraying slightly larger workpieces, you will likely have to refill your canister more often than you might like.
PROS
- Stainless steel finish
- Insulted handle for reduced vibration
- 24-month warranty
- Gravity and pressure feed combination
- Swivel joint canister
- Lightweight at 2.7 lbs
CONS
- Expensive
- Only holds 400cc’s of liquid content
- Spray gun only
- Pattern control switch is sensitive
Best Performance: GRACO Magnum ProX19 Cart Paint Sprayer
There are lots of ways to get the job done – some rely on experience, some rely on technique, and others lead towards brute force. If you asked us to place the Graco Magnum, we would definitely file it under the brute force category. Although you could use it for small projects like resurfacing your dining room table, doing so would be like using a blow torch to light the candles on a birthday cake.
The Graco is designed for large-scale projects like respraying an entire home (or homes, depending on your ambition) in a single afternoon. This quite obviously makes it the weapon of choice for house flippers and interior decorators. If you don’t mind the price tag, you will find that it does virtually anything perfectly.

- Fully adjustable pressure to give you ultimate control of paint flow
- Additional pump filtration reduces tip clogs from debris in the paint
- Piston pump allows you to spray paint unthinned at high pressure
Unlike the other units we have covered, the Graco doesn’t use compressed air to make its pressure. Instead, it uses an electric motor, which gets its power via a high tensile stainless-steel piston, completely eliminating the possibility of insufficient pressure from your spray gun. The Graco also eliminates the process of you having to open up your lacquer and pour it into the pump. In fact, once you’ve cracked the lid, simply pop the vacuum tube from the pump directly into the lacquer container and you are good to go!
Another useful feature the Graco has is its wheeled frame. This was undoubtedly designed with contractors in mind, enabling you to move from room to room without having to lug around the entire motor. Other useful features include a stainless-steel spray gun with multiple spray patterns, adjustable pressure settings for when you switch from paint to lacquer, and its convenient power flush system which enables you to flush the entire machine by connecting your garden hose directly to the pump.
Considering all these features, we think that not only is the Graco a great lacquer sprayer, but also a perfect companion for anyone that needs to get work done and get it done fast.
PROS
- No pressure lag
- Good for big and small applications
- Does not require a compressor/turbine
- 50-foot hose included
- 3000 PSI output
- Wheeled frame
- Easy to clean
CONS
- Expensive with hose attachments
- Difficult to store
- High RPM motors can be loud
- A long hose can be tricky to work with
What to Consider When Buying a Spray Gun for Lacquer
There are some really good sprayers out there with all of the bells and whistles you could ever dream of, but this does not necessarily mean that they make good sprayers for lacquer. When working with lacquer there are certain requirements a sprayer must meet, or you could risk damaging your entire unit. Here are few things you should consider before pouring lacquer into your sprayer.
Power Output
Lacquer is a dense solution, meaning it takes quite a bit of pressure to atomize for spraying. If your sprayer has a low power rating, it could have trouble providing sufficient or consistent pressure for the lacquer. This could result in you clogging up your sprayer and your feed line, which can be a bit of a mess to clean up, especially if you haven’t taken your sprayer apart before.
Other possible side effects of using a sprayer with a low power output means that you could end up with lacquer splattering all over your workpiece due to insufficient pressure. A sprayer’s power rating can be found both on the packaging and the manufacturer’s website, so be sure to check on the power rating of the sprayer before purchasing.
Remember that the recommended output for a lacquer sprayer is 1100 PSI and over, where the higher the PSI, the easier it will be for your sprayer to atomize the lacquer.
Liquid Capacity
Have you ever felt that your coffee mug is too small? It can be annoying having to make two cups when you know that you need a big one, but you already have the small one, and you are pretty much stuck with it for now. Paint canisters, or “hoppers” as they are sometimes called, present the same problem. Capacity means everything when you’re on a schedule and it can be annoying to have to refill your lacquer in the middle of pass, especially when you’ve found your groove.
Not only does having a canister smaller than you need slow down the work process, but it could end up creating splatter on your workpiece as your sprayer tries to expel the last remnants of lacquer. Before you purchase your sprayer, always check the maximum volume it can take on, and then weigh this up against the kind of work you typically do. This should tell you exactly what kind of canister you need, and you should be able to judge whether the canister provided in-box will be enough for you.
If the in-box canister is not enough for your application, have a look at the manufacturer’s website to see if they make larger canisters for that specific sprayer. If the manufacturer doesn’t have one specifically for the sprayer you intend to buy, check the thread size and pressure rating of other canisters made by the same company.
Cleaning
Everybody’s least favorite chore. Let’s face it, after an intense session of priming, painting, and applying lacquer, the last thing on anyone’s mind is cleaning their sprayer. However, especially when working with lacquer sprayers or a varnish spray gun, it is critical that you clean out both your spray gun and your paint canister.
Keep in mind that this is not cleaning for the sake of cleanliness – leaving lacquer or varnish in your sprayer can cause serious damage to the primary components or cause clogs in your nozzles, sprayer tips, and supply line. Taking a few minutes to clean out your sprayer with a sprayer-safe solvent, a low-pressure cleaner, or even soaking the affected components in some solvent can save you hours of choice words and disgruntled calls to the manufacturer for replacement parts.
Although spraying lacquer with HVLP sprayers leaves much less residue than using an LVLP sprayer, do not be tempted to just leave it in there. This being said, you should read up and practice taking your sprayer apart (at least at a rudimentary level) so that when the time comes to clean it out, you won’t be starting from scratch.
Also, ensure that you know exactly what gets rid of the specific type of lacquer you are using best. Do not use just any solvent, as it could end up making the situation worse. Cleaning and maintaining your sprayer is the cornerstone to ensuring both its longevity and keeping your blood pressure nice and low.
Now that you are armed with all the information you need about using lacquer in your paint sprayer, it is time for you to go out there and render your next masterpiece. Don’t forget to check the power output, nozzle size, canister size, and mobility of the sprayer you choose, and always remember, safety first!
Frequently Asked Questions
Can I Use Lacquer in a Spray Gun?
You can use lacquer in a spray gun as long as it is powerful enough to disperse the lacquer effectively. The recommended power output for any sprayer you would like to use to spray lacquer is 1100 PSI and above. Using a sprayer below this output could potentially damage the unit.
Is Lacquer Waterproof?
Most lacquers are indeed waterproof and therefore provide a waterproof coating for materials they are applied to. Other coatings provide a waterproof layer of protection too, such as varnish for wood and even polyurethane-based coatings for furniture such as countertops and outdoor furniture.
How Is Lacquer Applied?
If you are wondering how to spray lacquer, it is pretty simple. Simply add the lacquer to your sprayer once you have applied the finishing coat of paint to your workpiece. Your first pass with the sprayer should be consistent and seamless, but remember that lacquer dries quickly, so you will need to be both fast and accurate. Once your first coat has dried, you can add another one or two coats, sanding down the initial layer in the direction of the wood’s grain before each coat is applied. This is how to spray lacquer on wood specifically.