How to Paint a Bike – Helpful Guide for Customized Bicycle Painting
Disclosure: There are some affiliate links below and I may receive commissions for purchases made through links in this post, at now additional cost for you.
Do you want to give your old bike a new look? There are several ways to paint a bike – but one very good and effective way is to airbrush it. How exactly does this work and what should you consider? What are the pros and cons of DIY painting for bicycles? In this article, we will provide you with all the answers to these and many other questions. We will also show you how to airbrush paint a bicycle in our step by step guide.
Reasons for a New or Personalized Bicycle Painting
Why a bicycle needs a new coat of paint can have many reasons. Often it is too bad to throw away a fully functional bike just because the paint has too many scratches or flakes. Some bike lovers are emotionally attached to their bike, but find the colorful style becoming old-fashioned over the years. For others, the complete makeover of an old bike is a creative hobby. Last but not least, passing on a child’s bike among siblings or relatives is often a good reason for a colorful makeover.
With a little patience and skill, the right tools and a professional approach, you can easily repaint a bicycle.
Materials Needed for Painting a Bike
To give your bike a new look you need one thing above all: the right paint. You will also need a lot of other tools to do the paint job in the best possible way.
Preparations for Bicycle Painting
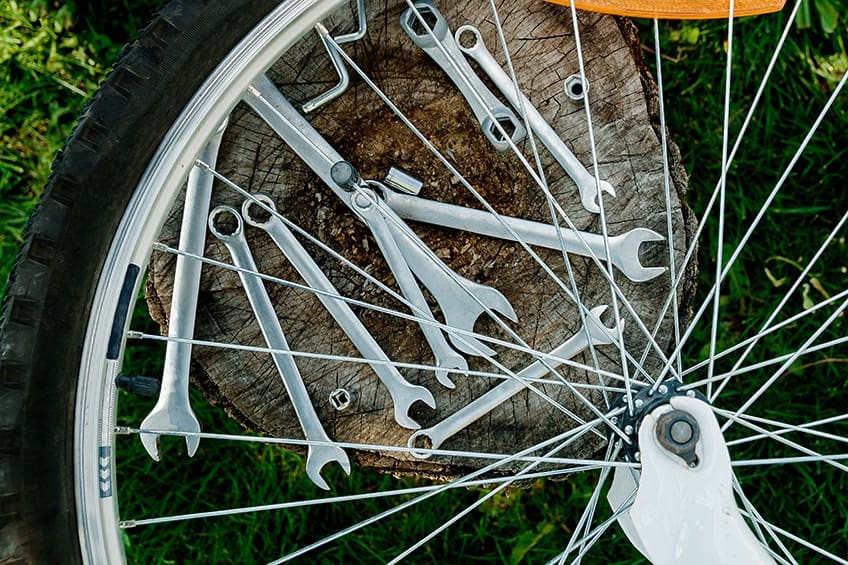
Before the new paint can be applied, your bike must first be dismantled in large parts and sanded down. For disassembly, you will of course need the appropriate tools. Most of the necessary screwdrivers and spanners may already be available. If not, you can buy these tools at any hardware store or order them online.
To sand down the old paint, you need sandpaper. If you don’t want to sand, but rather remove the old paint chemically, a stripper is needed at this point. Not only should the old paint be thoroughly removed, but it is also advisable to paint all parts of the frame grease-free. You should have a degreaser at hand for this. In particular, white spirit is suitable for this, but glass cleaner can also be used.
In addition, you should have masking tape ready to protect the parts of your bike that you don’t want to get paint on. A large painter’s foil will serve as a base and protect the surrounding parts from paint mist. For the sake of your health, you should not do without a protective mask, goggles, and disposable gloves. It may also be advisable to wear a protective suit to protect your clothes from the paint mist.
Suitable Paint
For painting a bicycle frame you can use any paint that adheres to metal. These are, for example, car paints or special paints that have been specifically developed for painting bicycles.
Our Top Pick: RUST-OLEUM Stops Rust Protective Enamel
This protective enamel paint by Rust-Oleum is the perfect option for painting a bicycle. The paint is suitable for adhering to metal, and it dries to a shiny, smooth finish. This paint has excellent durable qualities – such as preventing rust and being completely weather and corrosion-resistant. This is important for a bicycle.
The paint offers excellent resistance to abrasion, fading, and chipping. It is fast drying, and available in a semi-gloss or flat finish. Another bonus is that you can choose to get this paint either in a traditional paint can, or in a spray format.

- Weather and corrosion-resistant enamel paint
- Oil-based formula for greater durability
- Provides a smooth glossy, shiny finish
Pros
- Specially formulated paint for metal
- Extremely durable and weather-resistant
- Provides a smooth, glossy finish
- Also available as a spray paint
- Offers superior coverage
- Fast drying
Cons
- The size of the can is quite small
- The paint is rather thick, so it will need thinning down for an airbrush
Best Spray Paint: RUST-OLEUM Enamel Spray Paint
Spray paint is an excellent option for painting a bicycle, and this product from Rust-Oleum is a top choice. This paint is incredibly durable and even suitable for industrial purposes. The oil-based enamel formula adheres strongly to metal and dries to a smooth finish. Although the paint is incredibly strong, it also looks great. This spray paint is available in a wide range of colors to perfectly suit your style. The paint is also very easy to apply with the high-output tip, and it dries to touch in only 15 minutes.

- A high-quality, durable, oil-based formula
- Features a high-output tip that can be sprayed at any angle
- Strong enough for industrial applications
Pros
- The paint offers superior durability
- Available in many different colors
- Really easy to spray and apply from all angles
- Fast drying
- Offers an attractive finish for all kinds of metal surfaces
Cons
- Not the glossiest finish when it comes to metal paints
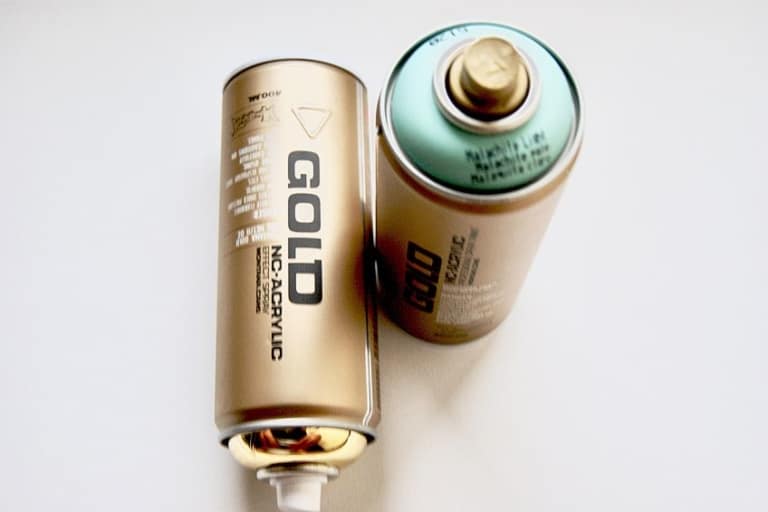
Best Value for Money: DUPLI-COLOR Metal Cast Anodized Paint
This spray paint by Dupli-Color is a smart choice for bicycle painting. The paint has been specially formulated for use on shiny metal surfaces – such as chrome. The result is a durable, smooth paint finish with an anodized effect. It dries to a high-gloss coating and is easy to apply. This paint is resistant to high temperatures as well as many other external influences – making it a great option for painting bikes.

- An anodized color effect spray paint
- A high-gloss coat for application over shiny metal
- Heat resistant and highly durable
Pros
- Durable anodized coating
- EZ touch fan spray nozzle for easy application
- Heat resistant to 500 degrees Fahrenheit
- Dries to a high-gloss finish
- Great value for money
- Very fast drying
Cons
- Requires many coats
- Some people do not like the anodized effect
The choice of paint also determines whether your bike has a glossy or matte look. The indications “glossy” or “matte”, which are applied to most paint cans, give you an idea of how the paint will look when it is completely dry. Always make sure that the paint selection is of good quality. In addition, never use different brands of paint together, this could result in unpleasant reactions with each other.
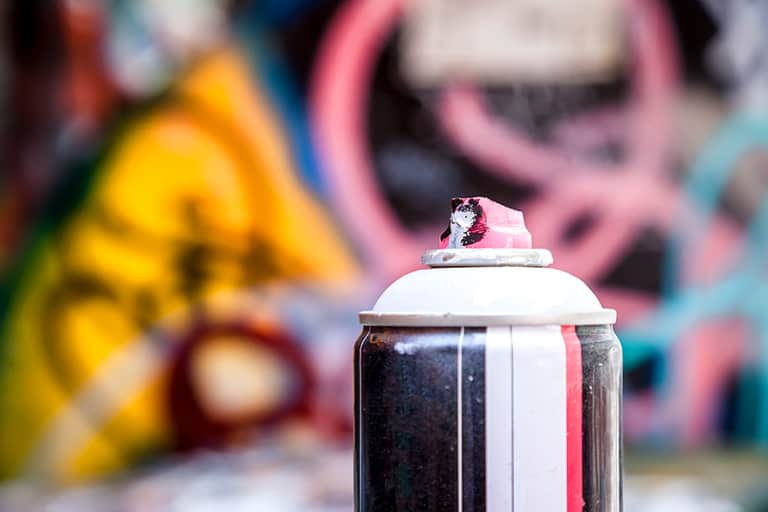
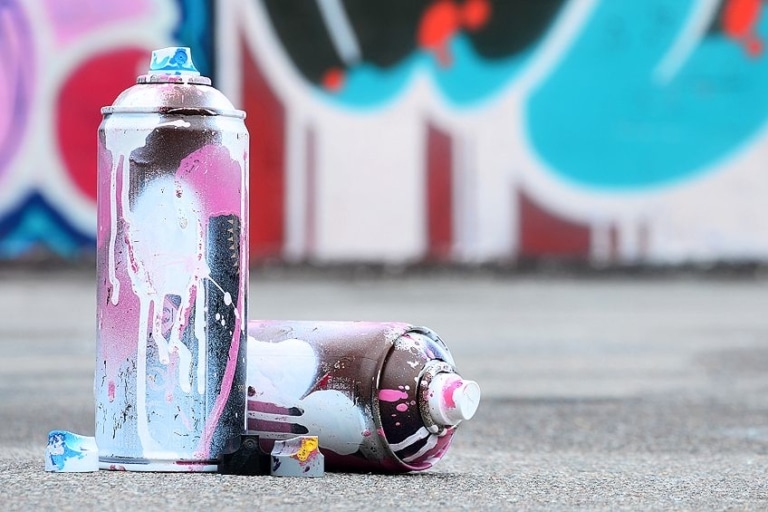
Painting From a Spray Can
An obvious way to make the paint application as even as possible is, of course, to work with a paint spray can. A spray can contains the prefabricated paint mixture in the desired shade and is equipped with a spray head. After thoroughly shaking the paint, you can start spraying immediately.
When working with a spray can make sure that the correct distance is maintained between the spray head and the bicycle frame. In addition, the paint should be applied in several thin layers. Both points help to prevent the formation of a nose.
During the spraying process, the spray can must always be held vertically to create an optimal spray pattern. Before taking a break, the spray can should be turned upside down and sprayed until no more paint comes out, this is the only way to prevent the spray head from sticking.
The last spray bursts from an almost empty spray can usually produce a very uneven spray pattern and speckles. Therefore, do not spray the paint can completely empty. Finish the work a bit before and start a new can to avoid unclean spots on the frame.
Painting With an Airbrush Gun
For painting with an airbrush gun, in addition to the airbrush gun and the appropriate compressor, you need an easily atomized, i.e. diluted paint. The airbrush gun should be suitable for the application of paints (solvent-stable seals!) and have a correspondingly large nozzle. The working pressure of the compressor must be between 1.5 and 3 bar.
Recommendation: BADGER AIR-BRUSH CO. Universal Complete Airbrush Set
This airbrush is a brilliant option for painting a bicycle. The airbrush has been designed to work with all materials, making it a versatile choice. It also features a clever rotational seal design that allows you to use a gravity feed or siphon feed system. This airbrush is durable, well-built, and able to produce fine details.

- This airbrush is suitable for spraying all materials
- Patented rotational seal design for versatile feeding
- A durable, high-quality airbrush set
Pros
- A versatile aibrush gun for various applications
- Easy to handle and control
- Durable
- Has a very clever rotational seal design
- Produces excellent details
Cons
- Does not include a compressor or cleaning kit
- Not a very extensive kit considering the price
Paint applied by airbrush is, like the paint applied by spray can, very even and without visible lines. Since a very fine mist of paint is applied by airbrush, several layers must be applied here as well. If you also keep to the recommended spray distance of approx. 25cm from the bicycle frame, the risk of paint noses is very low.
Another very big advantage of airbrush painting is that the colors are freely mixable, thus enabling completely individual color shades. On the other hand, in the case of spray cans, one must fall back on the available pre-mixed colors. However, the same applies to the mixing of colors: Always use paints from one and the same brand! This is the only way to avoid incompatibilities such as lumping or lack of miscibility.
The airbrush technique is not only suitable for the uni-colored base coat. With the airbrush you can turn your bike into a real work of art. An infinite choice of colours and airbrush stencils help you to conjure up brilliant motifs on the bike frame. If you are artistically talented yourself, you can let your imagination run wild with airbrush.
Step by Step Instructions for Painting a Bicycle Yourself
The old bike is waiting for a new look. The right color is chosen. The tools are ready. Where do you go now?
Preparation of the Workplace
The first thing we recommend is to find a well-ventilated, dust-free place where your bike can dry undisturbed for several hours. If you have a garage at your disposal, this is definitely a good place to be. However, if you have chosen the winter time to beautify your bike, you should make sure that it is not too cold in the garage. Many paints are not suitable for application at very low temperatures.
The work surface should be covered with painter’s foil over a large area. Firstly, it protects the surroundings from unwanted paint mist and secondly, it prevents the loss of small parts when dismantling the wheel.
Dismantle the Bicycle
Before you start painting the bike it is necessary to completely disassemble your bike. This must be done as far as possible until you only have the frame to be painted left.
Attachments such as bottle holders, luggage racks or similar are very easy to remove. The wheels, handlebars, saddle, bottom bracket cranks, chain and brake are also usually easy to remove. If individual parts cannot be removed because you don’t have the special tool or because they simply cannot be removed, you can also tape them off.
You should pack the tiny parts in labelled plastic bags immediately after dismantling. That way you can’t lose anything and save yourself a lot of searching when assembling.
Sand Off and Degrease the Old Coating
Next, all stickers should be removed. If they are too tight and cannot be removed easily, you can warm them up with a hair dryer, or alternatively with a heat gun, which will loosen the glue and the labels can be removed. If this is still not possible with your fingers alone, use a spatula to remove the edges of the stickers.
Now it is time to sand down the old paint. This can be done with a fine sandpaper (320 or 400 grain). To avoid unnecessary sanding dust, it is recommended to use wet sanding. At the end of this step the old paint does not have to be completely removed, but it should be sanded down to a clearly matt finish.
The sanding work is very complex but really necessary. Those who want to do without manual work in this step can use a grinding machine or even resort to the chemical alternative of stripping. However, it should be mentioned that stripping old paint usually ends up in quite a mess. In addition, the stripped paint must be disposed of in hazardous waste!
Degreasing and Smoothing Out Unevenness
In order to prepare the surface properly for the new paint application, it should now be degreased. You can use benzine or glass cleaner for this. It is important that all parts to be painted are free of grease. Small scratches and unevenness can be evened out with a special putty.
Masking
It is essential to cover all areas of the bike which should not receive any paint. In this step, all holes and threads should also be taped or closed with screws so that they are not covered or glued by paint. For masking you can use paint masking tape or tape and foil.
Priming and Painting
It is helpful to hang up the bicycle frame to be able to paint it easily. This allows you to walk around the frame and work on it evenly from all sides. It is also helpful to thread a rope through the main tube to hang the bicycle frame from the ceiling. If you can’t hang the frame anywhere, use a bicycle mounting frame. A good alternative could be to put a broom through the main tube and fix it to a table.
Before starting the painting process you should put on your protective clothing, such as safety goggles, breathing mask and protective gloves.
The Primer
For some paints it is necessary to apply a primer. This improves the adhesion of the paint. A primer is also very helpful when light colors are to be applied over dark colors. In this case, a white primer supports the color brilliance of the new, light color.
The Actual Painting of the Bike
If a ready-to-spray can is used, it must be thoroughly shaken before starting work in order to achieve an optimal color result. If you work with an airbrush gun, your desired color must now be mixed and possibly diluted according to the manufacturer’s instructions. The mixed paint is then filled into the airbrush gun and is now ready for use.
Both the spray gun and the spray can should be moved smoothly over the surface to be painted. Make sure that the distance to the bicycle frame remains constant. In addition, never stay too long with the paint mist on one spot, it can cause unattractive paint noses. It is best to paint in several steps until the old paint is finally covered in all areas. The paint should dry for approx. 15 to 30 minutes between the individual painting steps.
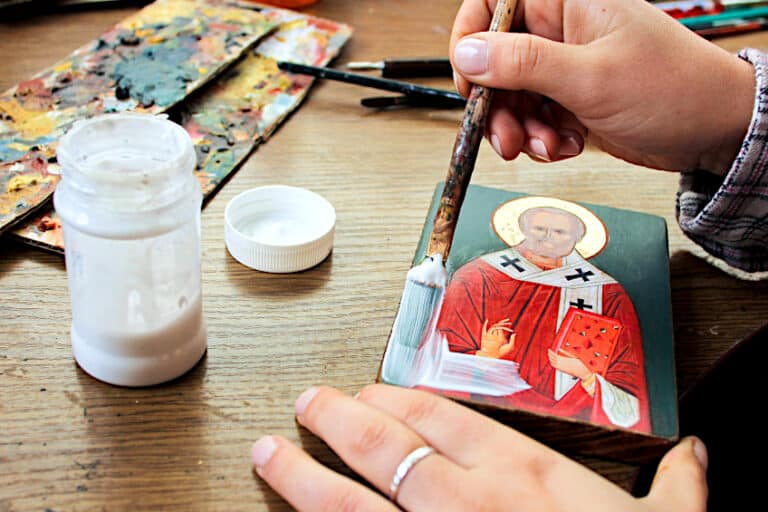
Embellish With the Airbrush or Decals
Once the new paint is completely dry, you can customize your bike as you wish. If you are already working with an airbrush gun, you can now use it to apply your own design or lettering to the frame. Even if you have applied the base color with a spray can, there is nothing to stop you from decorating with airbrush art.
Of course, it is also possible to attach decals to the frame. Usually this is done with a transfer foil and is quite easy to do.
Apply Clear Lacquer
To make the new paint weatherproof and also to protect it from scratches, it can be sealed with a clear lacquer. The clear lacquer should be applied in 2 to 3 layers for an optimal result.
Special care is required when working with clear lacquer. It tends to run off very quickly and to form a nose. If, despite the greatest care, a mishap occurs, wait until the varnish has dried and carefully sand the nose of the varnish with fine sandpaper. Then apply the next layer of lacquer and compensate for the fault. Avoid trying to wipe off any running varnish with a cloth. That way it can only get worse! The clear lacquer should dry for at least 24 hours.
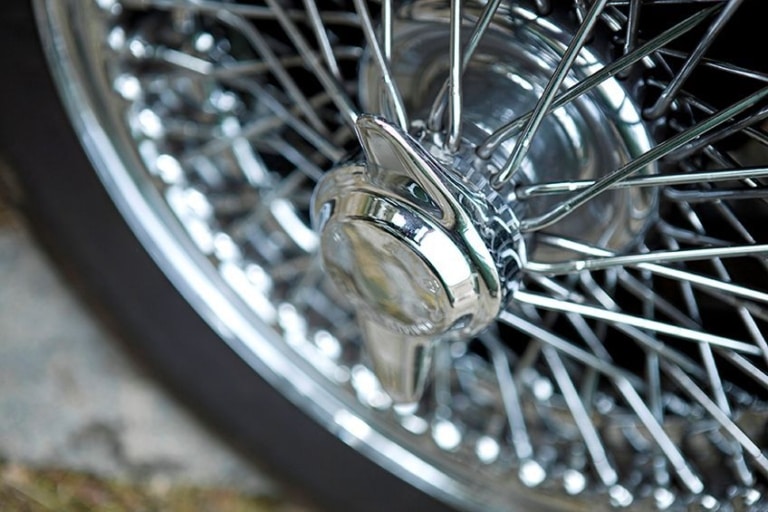
Fitting and Repairing Wheels
Allow your new paint to dry and cure thoroughly for at least 24 hours. During this time the frame should not be touched or moved. It is also advisable to keep it away from dust as much as possible. Once the paint has hardened, you can remove the masking tape and remount the bike completely.
Some accessories can be adapted to the new paint right now. For example, color-coordinated handlebar grips, a chic saddle or unusual tyres round off the new look.
Now is also the perfect opportunity to replace broken parts and make necessary repairs. Readjusting the brakes can also be done now.
Painting Your Bike Yourself or Having it Professionaly Painted?
There is always the question of whether you should paint the bike yourself, or get somebody else to do it. We have broken down a few of the advantages and disadvantages of getting it done professionally below.
Pros
- In any case, professional bicycle painting saves a lot of time. Not only can you leave the sanding and painting in professional hands, but the biggest part of the disassembly and assembly work is done in the workshop. Most of the time, the bike only has to be freed from attachments.
- In addition, the professional powder coating is much more robust than the self-applied paint.
Cons
- A clear disadvantage, however, is that there is little scope for individuality with most providers. Often only the choice of color is possible. Letterings, motifs and patterns are either not possible or are associated with high extra costs.
How Much Does it Cost to Have a Bicycle Painted?
Unfortunately, bicycle painting is really very expensive and therefore hardly worthwhile for an old bike. The prices vary a lot and mostly depend on the effort the customer’s request generates and the model to be worked on. The cheapest suppliers often start at around $150.
Advantages and Disadvantages of Self-Painting
Considering painting the bike yourself? Here are some important things to keep in mind:
Pros
- There are no limits to the color design, as well as individualisation through patterns, airbrush motifs or decals.
- Also in terms of price, painting a bike yourself beats the professional version by far. Usually one can of paint is completely sufficient to give the bike a new shine. Spray paints that are suitable for bicycle painting are available at a very affordable price.
Cons
- It is quite clear that it is very time consuming to paint a bicycle yourself. This is the biggest shortcoming of the matter.
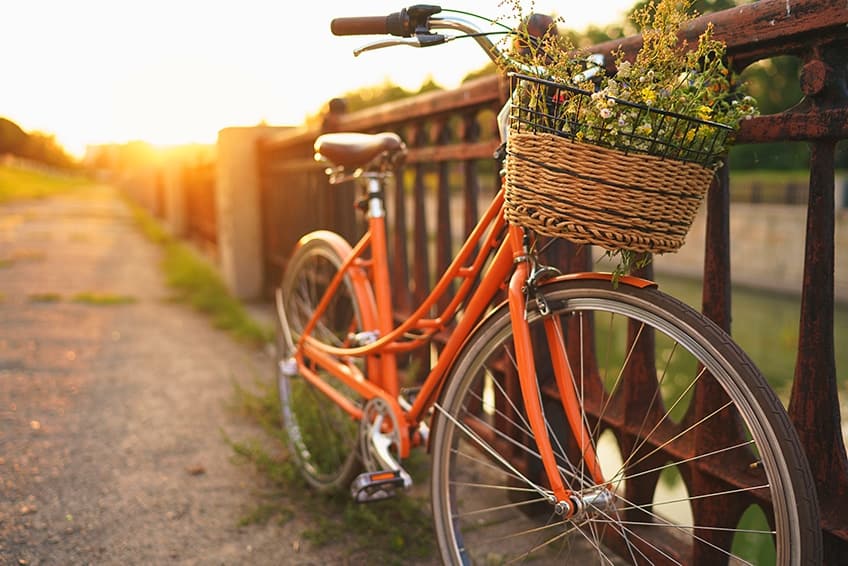
You feel like polishing up a wheel but don’t have one that needs a refresher? No problem: just browse through the flea markets in your area! You will certainly discover great old models with an extraordinary frame that are available for little money. With a cool color and chic accessories, these models will quickly become a designer piece.
We hope that this guide has inspired you to refurbish your old bike instead of throwing it away and generating more waste. Painting a bicycle is fun, not too difficult, and will producing seriously rewarding results. We wish a great time painting!