Airbrush Stencils – What You Need to Know About Airbrush Stencil Kits
Disclosure: There are some affiliate links below and I may receive commissions for purchases made through links in this post, at now additional cost for you.
As an airbrush artist, you have the choice of whether you prefer to work freestyle or use templates. Many artists combine both possibilities. In this article, we will tell you where you can find airbrush stencils kits to print out for free, how you can make them yourself, and how to clean the stencils properly.
What are Airbrush Stencils?
Airbrushing is a wonderful method to creatively let off steam. With a solid airbrush gun and the right paint, you can create fascinating works of art that will captivate the viewer. But there is a catch: the edges of the designs will be a little blurred. This is often intentional, for example when the artist wants to capture soft color transitions on the painting surface. Sometimes, however, one would rather create sharp lines. This is not possible with the airbrush alone.
There are two solutions to this problem: Either you spray the background first, as it may be washed out often, and paint all designs with a fine brush afterward. This requires a sharp edge. However, this is usually very cumbersome and especially for a beginner, the risk of making mistakes shortly before the completion of the artwork is quite high.
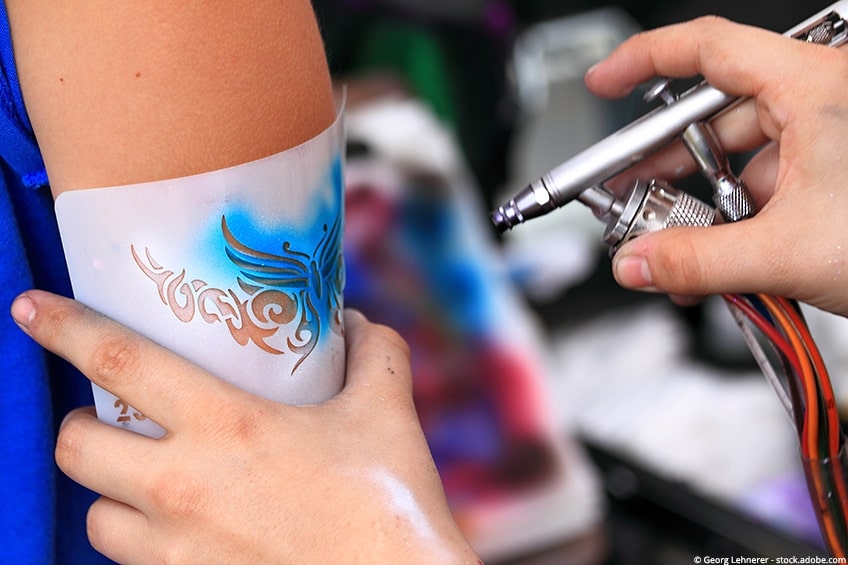
Fortunately, there is a second option. This is where airbrush stencils, or airbrush templates, come into play. They can be stuck onto a suitable painting surface and ensure razor-sharp design edges. Their handling is very easy and they are available in an almost unlimited variety. They are generally made of polyester, which also makes them easy to clean. Other reasons to choose to use an airbrush stencil include the following:
- Maybe you don’t have a steady hand, so your design would get a little shaky
- You like ready-made designs or want to combine them with your own creativity
- Inventing your own design is too time-consuming, but you still want to create beautiful art
Not only are airbrush templates available for free, for example on the Internet for downloading and printing, but also professional templates. With a little skill you can also make airbrush stencils yourself. We explain how below.
Best Airbrush Stencils
Airbrush stencils can be found in all kinds of designs and themes based on your taste This can include very simple shapes, lettering, numbers, and detailed designs. Below are some of the best stencil options available for airbrush art.
Animal Prints: CINPIUK Animal Print Stencils
Animal prints can work really well for airbrush art. These stencils come in 9 different animal prints and can be used on cakes, cookies, wood, art, clothes, or anything that you want to enhance with these prints. These stencils are easily washable and reusable, so you can get plenty of use out of them.
- A set of nine different animal print stencils
- Easily washable and reusable
- Assorted stencils for use over any type of surface
- A great range of different animal print stencils for various designs
- Easy to use and store
- Suitable for all kinds of surfaces and applications
- Easily washable and reusable
Flowers and Plants: ZONON Flower Stencil Set
Flowers, leaves, and plants are another classic design for all kinds of artworks. This 16 piece stencil set has some beautiful flower designs that are suitable for all kinds of applications. The stencils are made from a thick mylar that is durable, flexible, and easy to clean.
- A 16 piece set of various flower and leaf designs
- Convenient to apply, easy to pull away
- Flexible, durable, and washable stencils
- A variety of 16 different flower stencils
- Convenient to apply and lift up without making a mess
- Made out of a thick and durable, yet flexible material
- Suitable for a wide range of applications
What Can Airbrush Stencils be Used for?
In principle, airbrush templates can be used for all conceivable airbrush applications. Depending on the size, they are used for:
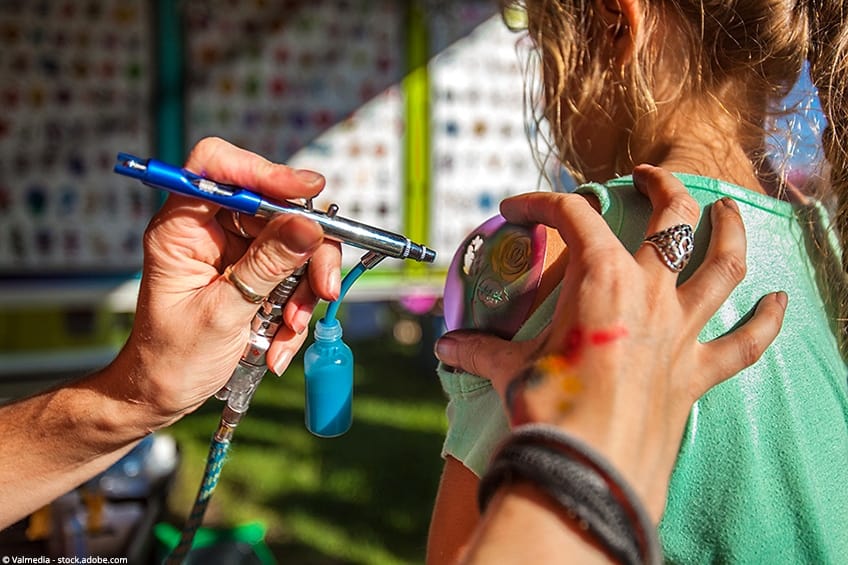
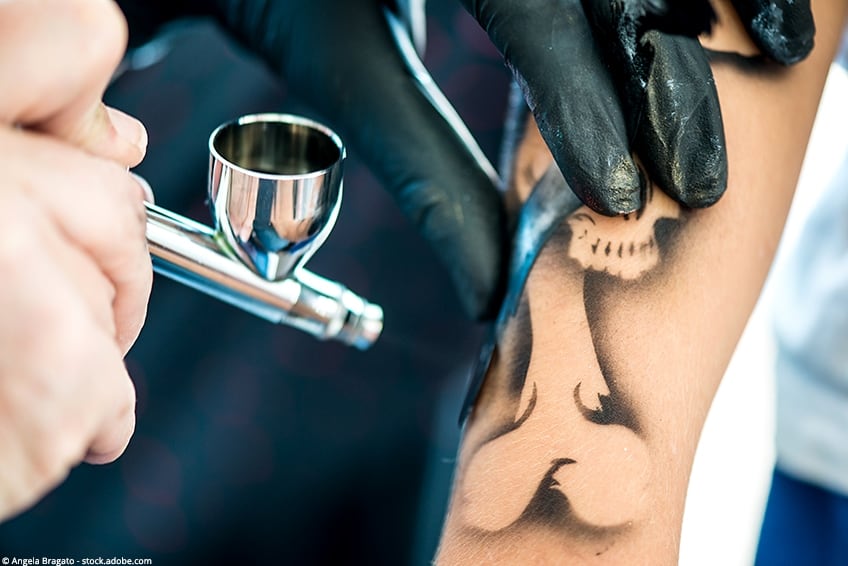
- Temporary airbrush tattoos
- Airbrush makeup
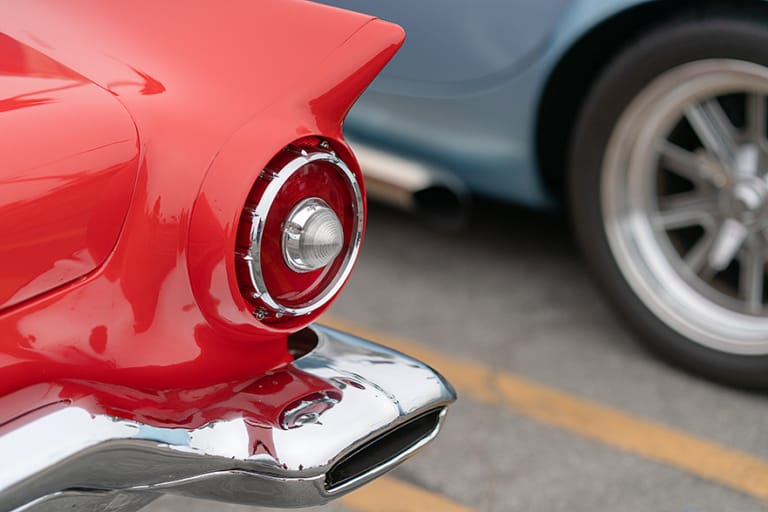
- Painting of cars, motorcycles, and their accessories like helmets
- Photorealistic murals
- Body and face painting
Stencils are even suitable for spraying cakes and other foods. A cake with a sprayed-on floral pattern can be the highlight of any wedding or special event.
Pros and Cons of Using Stencils
An airbrush stencil offers the artist various advantages. However, there are also some drawbacks to using this kind of method. We have outlined these below.
- We have already mentioned the perfect edges and straight lines that you can get
- You don’t have to be an airbrush professional to create truly beautiful art, because with the help of a stencil you can create the perfect picture
- A high-quality film can be reused often and for a long time because the film makes it washable and very stable
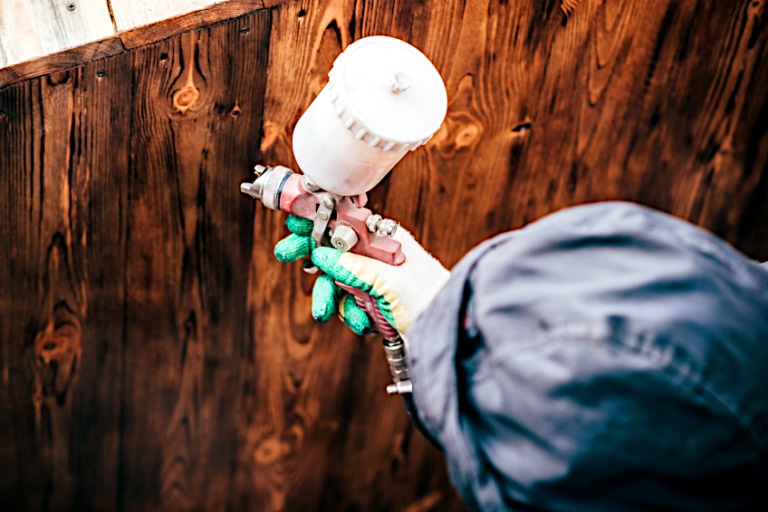
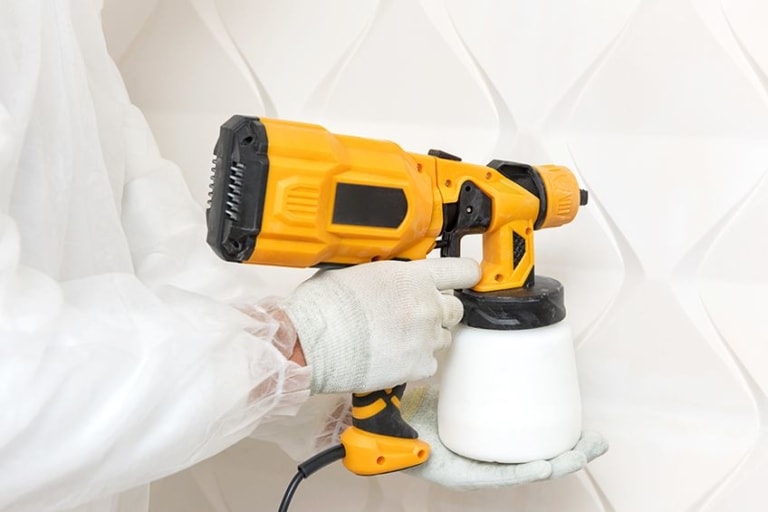
- With a stencil, even very large areas, such as walls, can be easily sprayed
- If you use a complete set, it often consists of several stencils and detailed instructions that will help you create an accurate and stunning piece of art
- A simple stencil can be produced with little effort
- A good quality airbrush stencil has its price. A single stencil doesn’t cost the earth, but if you want to get a large selection, you may have to dig a little deeper into your pockets
- The design is, with all its variety, of course predetermined, which could be annoying to stubborn or very creative artists. However, in addition to the picture stencils, pattern stencils are also available, which give you more freedom
- If you are not careful enough, the still fresh paints on your artwork can smudge
- The stencils must be cleaned after each application, which of course means additional effort
Airbrush Stencil Considerations
An airbrush stencil consists of several layers of foil. For you to work with it optimally, it should be of high quality and stable, but at the same time have the necessary transparency so that you can place it properly on your artwork. It must be flexible so that you can apply it over any surface.
High-quality airbrush stencil kits are resistant to solvents and easy to clean. Therefore they have a long life and can be reused many times. Before you buy one or more stencils, think about what exactly you expect from them. If you only want to spray simple motifs, you can make an airbrush stencil yourself.
However, there are also complete sets that allow you to create photorealistic images or highly complex works of art. These also include detailed instructions. Especially for beginners, who want to achieve quick learning success with their airbrush gun, such a set can be an alternative to simple stencils. By the way, you can not only use such sets according to the instructions but also combine the stencils in different ways and thus spray new pictures over and over again.
Airbrush Stencil Tips and Tricks
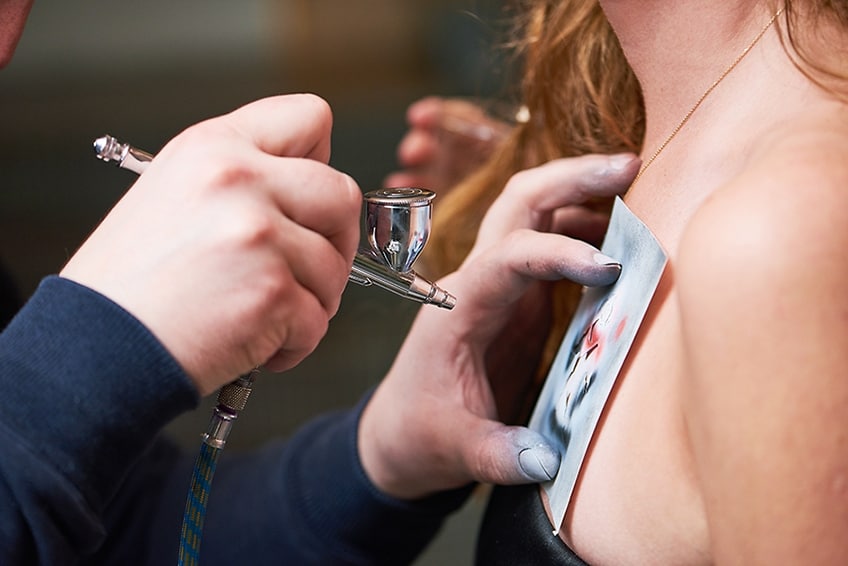
Especially with the above-described airbrush template complete sets, it is very important to arrange the templates in the right order, and in the right position. Otherwise, there is a risk of unsightly mistakes in the finished work of art. Therefore, please follow the instructions provided. Of course, this only applies if you really want to spray the work described in the instructions. As already mentioned, you may of course combine the stencils differently.
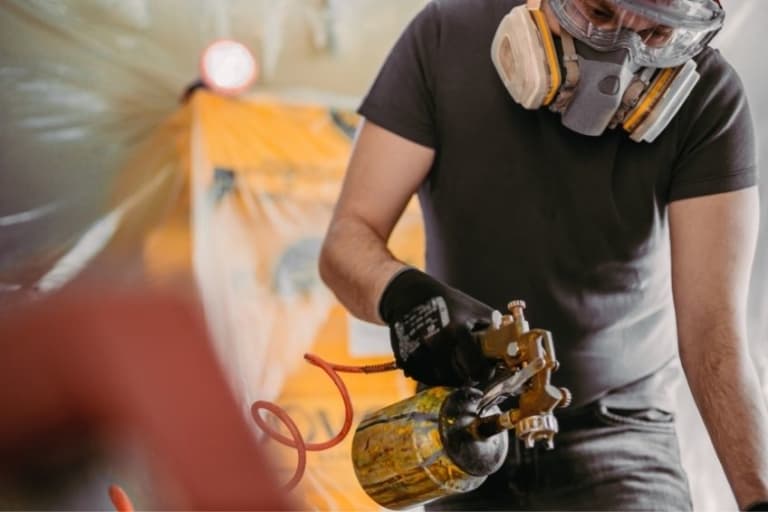
Allow yourself a short break after each spraying, so that the sprayed colors have enough time to dry. This does not take too long, but just in case – you do not want to smear your colors with the stencil. Think about your safety when airbrushing. Use not only a mask but also disposable gloves when using airbrush templates. Since the templates sometimes need to be held in place when spraying, your fingers will come into contact with the paint. Of course, this is not so tragic with food colors, but it is with solvent-based colors.
How to Clean Stencils
To ensure the longevity of your airbrush templates, you should maintain them, just like your airbrush gun and compressor. Regular cleaning should therefore be part of your standard program. Cleaning stencils for airbrushing is very easy. The only thing you have to consider is the compatibility between the airbrush paints used and the cleaner. This means that for solvent-based paints you also need to use a suitable cleaner. For water-based paints it is often sufficient to wash the stencils with warm water; if in doubt, you can also use isopropyl alcohol or a special airbrush cleaner.
Proceed with the following for airbrush stencil cleaning:
- Fill a bowl with a suitable cleaner. If you have applied the stencil to your art object with spray glue, you must add isopropyl alcohol
- Prepare the bowl and some kitchen paper
- Place the stencils one at a time in the bowl so that they are covered by the cleaner/isopropyl alcohol
- Leave the airbrushing stencils in the liquid for about thirty minutes to dissolve the paint and any adhesive residues
- Lay the kitchen towel on the table in two layers in front of you and place the airbrush stencils on top
- Soak a piece of kitchen paper with the cleaner and dab all ink and glue residues from your stencils on both sides until they are clean. Do this gently and take care not to damage the edges. Otherwise, the stencils could become unusable
- Dry the stencils and store them in a dry place where they cannot be damaged
Making Airbrush Stencils Yourself
If you do not want to buy ready-made designs, you can also make a stencil for airbrushing yourself. In this way, you are creative and can decide how your work of art should look later. The self-made airbrush stencils are also free. To make an airbrush stencil yourself, you only need a few materials:
- An editor
- A cutting mat
- Stencil film
- Paper and pencil
You are now completely free in your design options. First, imagine the picture you would like to create and draw it on paper with a pencil. Now stick your drawn motif onto your cutting mat with adhesive tape. Use the cutter and stencil film to cut out your idea. Stick the stencil film over the design. Then trace the contours with the cutter.
The variant presented here is of course a little more professional. If your requirements are not quite so high, you can also use thick cardboard to make an airbrush stencil. However, such a stencil is not quite as accurate as a stencil made of foil, as its edges never become as smooth. Another option is to buy mylar sheets specifically designed for making your own airbrush stencils with.
- A 15 pack of clear mylar stencil sheets
- Perfect for easily making your own airbrush stencils
- 6 mil clear sheets that measure 12 x 12 inches
Airbrush Stencils for Printing and Cutting
As described in the last section, you can design an airbrush template yourself if you don’t want to buy one. You can also download free printable airbrush stencils from the internet and use them, just like above, to create a stencil. This way, you can get airbrush stencils for beginners quickly and easily, just as you need them, and don’t even have to spend money on them. To do this, print out the motif and continue exactly as described above.
Airbrush stencils for beginners are particularly useful, and offer a wonderful opportunity to be creative and see quick results at the same time. But advanced users can also benefit from templates. In our opinion, a basic set of airbrush stencils should not be missing in any studio.

